
DIY Softbox for Coffee Bar: Build Perfect Coffee Lighting
Building a DIY softbox lighting setup for your home coffee bar is absolutely achievable with common materials, significantly enhancing your coffee photography and ambiance. If you're passionate about capturing those perfect latte art moments or simply want to create a more inviting glow around your home coffee bar, a DIY softbox is a game-changer. It's an affordable, custom solution that can elevate your coffee experience from casual sips to picture-perfect pours without breaking the bank. Let's dive into how you can craft your very own softbox and transform your coffee space.

Why a DIY Softbox for Your Home Coffee Bar?
Ever wondered why your homemade coffee photos don't quite pop like those you see online? Often, it comes down to lighting. Harsh, direct light can create unflattering shadows and dull colors, making your delicious brews look less appealing. This is where a DIY softbox lighting setup for your home coffee bar steps in. It diffuses light, making it softer, more even, and incredibly flattering for your coffee creations and the overall ambiance of your coffee bar. Beyond photography, imagine a warm, inviting glow that makes your coffee corner feel even cozier, perfect for those quiet morning rituals or evening wind-downs.

Understanding the Basics: What is a Softbox?
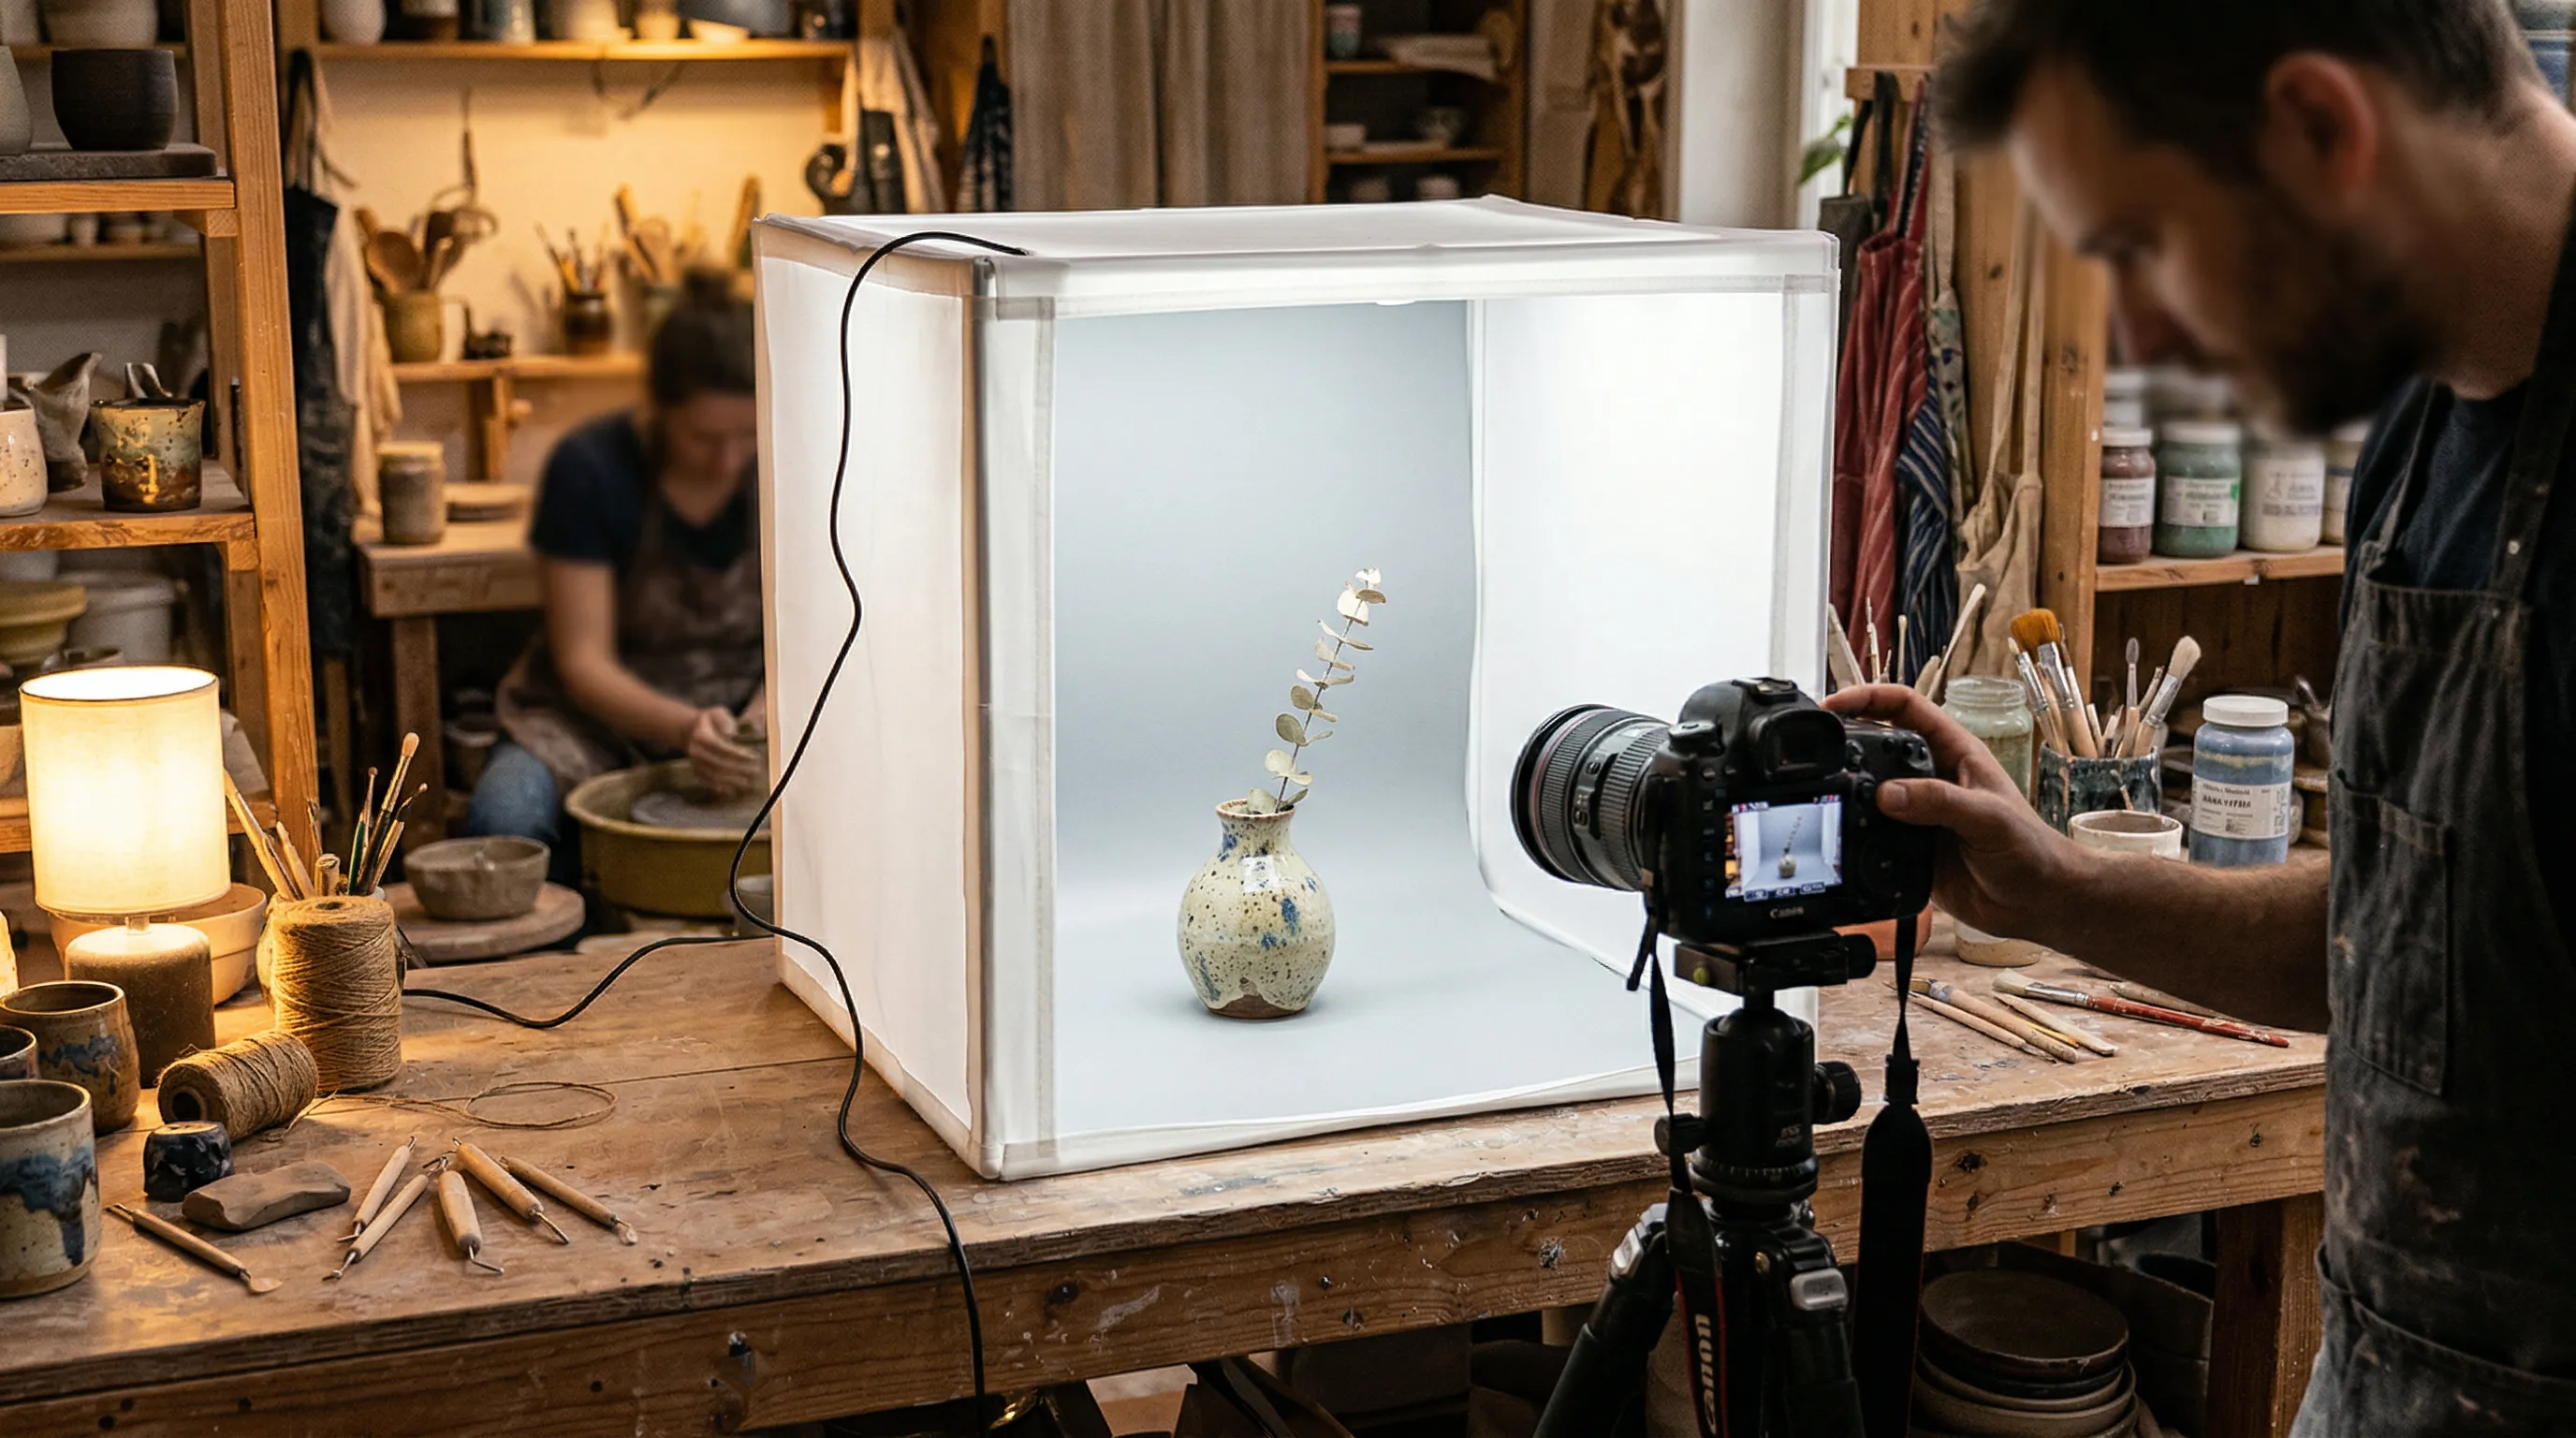
At its core, a softbox is a light modifier that diffuses light, turning a harsh point source into a broad, soft, and even illumination. Think of it as a small, enclosed tent for your light bulb. It typically consists of a reflective interior that bounces light forward, a light source (like an LED bulb), and a translucent fabric front panel that scatters the light as it exits. This diffusion is key to reducing harsh shadows and creating a smooth gradient of light, which is ideal for food and beverage photography. When you build a DIY softbox lighting setup for your home coffee bar, you're essentially mimicking this professional studio equipment with everyday items.

Essential Materials and Tools for Your DIY Softbox
Building a DIY softbox for your home coffee bar doesn't require a trip to a specialized electronics store. Most of what you need can be found around your house or at a local hardware or craft store. From my experience, choosing the right materials is half the battle for a successful build.
Here's a list of materials you'll want to gather:
- Cardboard Boxes: Sturdy, clean cardboard boxes will form the frame of your softbox. Aim for something relatively stiff that can hold its shape.
- Aluminum Foil: This will line the interior, acting as a reflective surface to maximize light output.
- White Fabric or Tracing Paper: A thin, translucent white fabric (like an old white t-shirt, bedsheet material, or even a shower curtain liner) or tracing paper will serve as your diffusion panel. This is crucial for creating that soft light.
- Light Fixture with Clamp: A simple clamp lamp with a standard bulb socket is perfect. Ensure it has a strong clamp to attach it securely.
- LED or CFL Bulb: Choose a daylight-balanced LED or CFL bulb (around 5000K-5500K) for accurate color representation. These bulbs also produce less heat than traditional incandescent bulbs, which is safer for a DIY setup.
- Strong Tape (Duct Tape or Gaffer Tape) and/or Hot Glue Gun: For assembling the cardboard frame and securing the reflective material.
- Scissors or Utility Knife: For cutting cardboard and fabric.
- Ruler or Measuring Tape: For precise measurements.
- Marker: For marking cut lines.
Sourcing these items doesn't have to be expensive; repurposing old boxes and fabric is a great way to keep costs down while still creating an effective DIY softbox lighting setup for your home coffee bar.

Step-by-Step Guide to Building Your DIY Softbox
Creating your own DIY softbox lighting setup for your home coffee bar is a fun and rewarding project. Take your time with each step to ensure durability and effectiveness.
Designing the Frame
Start by planning the size and shape of your softbox. A rectangular or square shape works well. Cut four pieces of cardboard to create the sides of your softbox. The exact dimensions will depend on how large you want your softbox to be, but aim for something that can adequately cover your coffee bar setup. Remember, a larger softbox generally produces softer light. Use strong tape or a hot glue gun to assemble these four sides into an open-ended box shape, ensuring it's stable.
Reflective Interior
Carefully line the inside of your cardboard frame with aluminum foil, shiny side facing inward. Crinkling the foil slightly before taping it down can help create a more even reflective surface, minimizing hot spots. Overlap the foil slightly at the seams and secure it firmly with tape. The goal here is to bounce as much light as possible towards your diffusion panel.
Attaching the Light Source
Cut a hole in one of the smaller ends of your cardboard frame – this will be the back of your softbox. The hole should be just large enough to securely fit the clamp lamp's socket and bulb. You can reinforce the edges of the hole with extra tape if needed. Position the light fixture so the bulb points directly into the center of the softbox. Ensure the clamp can firmly grip the cardboard or an external support, keeping the bulb safely suspended inside without touching the foil. Safety is paramount, so always double-check that your bulb isn't too close to any flammable materials.
Creating the Diffusion Panel
Measure the open front end of your softbox frame. Cut your white fabric or tracing paper to fit this opening, leaving a little extra around the edges for attachment. Securely tape or glue this diffusion material over the entire front opening of the softbox. The tighter and smoother it is, the better the diffusion will be. This panel is what truly transforms harsh light into the soft, even light you desire for your DIY softbox lighting setup for your home coffee bar.
Assembling and Testing
Once all the components are assembled, give your DIY softbox a quick once-over. Ensure all parts are secure and there are no exposed wires. Plug in your light fixture and turn it on to test the illumination. Observe how the light spreads and if the diffusion panel effectively softens the light. You might need to make minor adjustments, like adding another layer of diffusion material if the light is still too harsh.

Optimizing Your DIY Softbox for Coffee Photography
Now that you've built your DIY softbox lighting setup for your home coffee bar, it's time to put it to good use! Proper placement is crucial for getting those stunning coffee shots. I've found that positioning your softbox slightly above and to the side of your coffee subject works wonders. This angle mimics natural window light, creating appealing shadows and highlights that give your coffee depth and dimension.
Experiment with distance; moving the softbox closer will result in softer light, while moving it further away will make the light harder but cover a wider area. You can also try backlighting your coffee setup by placing the softbox behind the subject, which creates a beautiful rim light effect, or using it as a fill light to soften existing shadows. Remember, the goal is to enhance your coffee's visual appeal, making every detail shine.
Benefits of a DIY Softbox for Your Home Coffee Bar
Embracing a DIY softbox lighting setup for your home coffee bar offers a multitude of advantages beyond just great photos. Firstly, the enhanced aesthetics are undeniable. Your coffee shots will look more professional, vibrant, and inviting, making them perfect for sharing on social media or simply admiring yourself. Secondly, cost savings are a huge plus. Professional softboxes can be expensive, but building your own leverages affordable, readily available materials, proving that high-quality results don't require a hefty investment. Thirdly, there's the satisfaction of learning new skills and customizing something truly unique for your space. Lastly, this DIY approach provides you with a customizable solution tailored precisely to the size and needs of your specific coffee bar setup, something off-the-shelf options might not offer.

Common Mistakes to Avoid and Pro Tips
When building your DIY softbox lighting setup for your home coffee bar, it's easy to overlook a few details that can significantly impact performance. A common mistake is using too small a softbox, which can lead to light that's still too harsh. Another pitfall is neglecting proper diffusion, resulting in hot spots or uneven lighting. Safety is key, so ensure all wiring is secure and not exposed to flammable materials. Finally, choosing the wrong bulb, like one that gets too hot or has an unflattering color temperature, can also spoil your efforts.
From my own experience, these pro tips can make a big difference:
- Can a DIY softbox really produce professional-looking photos? Absolutely! With careful construction, proper diffusion, and strategic placement, a DIY softbox can mimic the quality of light from more expensive studio equipment, allowing you to capture stunning, professional-looking coffee shots right at home.
- What type of bulb is best for a DIY softbox in a coffee bar setting? For the best results, opt for daylight-balanced LED or CFL bulbs (around 5000K-5500K). These bulbs provide accurate color representation for your coffee and produce significantly less heat, making them safer for your DIY softbox lighting setup for your home coffee bar.
- How important is the diffusion material for a DIY softbox? It's critically important! The diffusion material is what softens and spreads the light evenly, eliminating harsh shadows and creating that desirable soft glow. Don't skimp on this step; a good quality, even diffusion panel is essential for an effective softbox.
Experiment with different diffusion materials, like multiple layers of thin white fabric, to find what works best for your desired softness. Consider adding a simple, adjustable stand for your softbox to easily change its height and angle. Also, think about the warmth of your light; while daylight balance is great for accuracy, a slightly warmer bulb can create an inviting ambiance for your coffee bar.

Frequently Asked Questions
Can I use a regular household light bulb for my DIY softbox?
While you technically can, it's highly recommended to use LED or CFL bulbs due to their lower heat output and energy efficiency, which are safer and more practical for a DIY softbox lighting setup.
How big should my DIY softbox be for a coffee bar?
The ideal size depends on your coffee bar's space and what you're photographing. A softbox around 12×12 inches to 18×18 inches is a good starting point for illuminating coffee cups and small arrangements.
Is a DIY softbox safe to use?
Yes, if constructed carefully with safety in mind. Always ensure electrical connections are secure, use low-heat bulbs (LED/CFL), and keep flammable materials away from the light source.
Can I make my DIY softbox portable?
You can design your DIY softbox to be collapsible or lightweight by using lighter cardboard and easily detachable parts, making it more portable for different coffee photography setups.
How can I make my DIY softbox adjustable?
You can attach your softbox to a flexible arm or a light stand using clamps or a custom mount. This allows for easy adjustments to height and angle, giving you more control over your coffee bar lighting.
Conclusion
Creating a DIY softbox lighting setup for your home coffee bar is more than just a craft project; it's an investment in enhancing your daily coffee ritual and elevating your photography skills. By following these steps, you've equipped yourself with a cost-effective, custom lighting solution that can transform dull photos into vibrant, engaging images, and your coffee corner into an inviting haven. Don't hesitate to personalize your softbox and experiment with different setups. The joy of a perfectly lit pour is within reach, so go ahead, build your softbox, and share your beautifully lit coffee creations with the world!