
IKEA BESTA Coffee Bar Counter: Sturdy DIY Upgrade
You can modify an IKEA BESTA cabinet to serve as a sturdy coffee bar counter by reinforcing its structure with internal bracing, securely attaching multiple units together, and installing a robust countertop with appropriate fasteners.
Dreaming of a dedicated coffee station that not only looks fantastic but also withstands the daily grind of your caffeine ritual? Look no further than the versatile IKEA BESTA cabinet. As someone who has embraced the world of IKEA hacks for years, I've seen firsthand how a little creativity and some strategic modifications can transform basic furniture into highly functional and beautiful bespoke pieces. In this comprehensive guide, we'll dive deep into exactly how you can modify an IKEA BESTA cabinet to serve as a sturdy coffee bar counter, ensuring it's both beautiful and built to last.
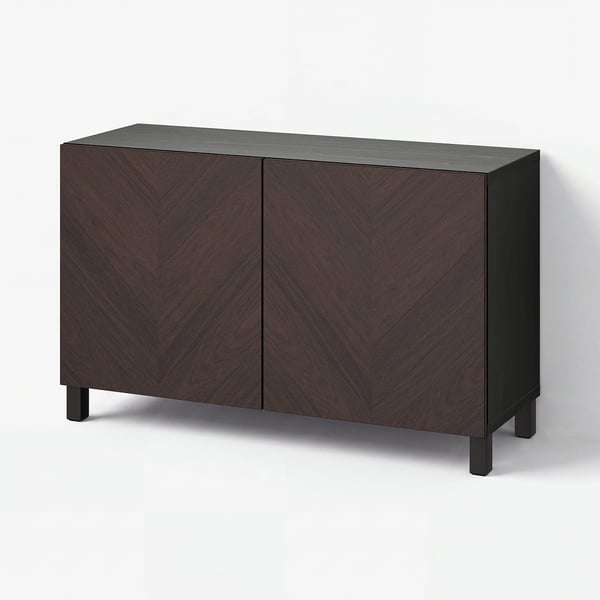
Why Choose an IKEA BESTA for Your Coffee Bar?
The IKEA BESTA system is a popular choice for home furnishing projects, and for good reason. Its modular design offers incredible flexibility, allowing you to combine various units, doors, and drawers to fit your specific needs and available space. The clean, modern aesthetic of BESTA also provides a perfect blank canvas for customization, making it ideal if you want to modify an IKEA BESTA cabinet into something truly unique.
From my personal experience, I’ve used BESTA cabinets for everything from media consoles to display units, and their inherent adaptability always shines through. They offer excellent value for money, providing a solid foundation without breaking the bank, which leaves more budget for those fun customization elements. When you choose to modify an IKEA BESTA cabinet to serve as a sturdy coffee bar counter, you're starting with a product known for its versatility and ease of assembly.

Essential Considerations Before You Start
Before you even pick up a screwdriver to modify an IKEA BESTA cabinet, it's crucial to plan carefully. Thinking through these aspects will save you time, money, and potential headaches down the road. This foresight ensures your new coffee bar counter perfectly fits your lifestyle and space.
First, consider the exact location and available space in your home. Measure the width, height, and depth to determine the ideal size for your BESTA configuration. Next, think about the desired counter height – will it be a standing bar, or will you use stools? The standard height for a kitchen counter is around 36 inches, but you might adjust this for a dedicated coffee bar.
Weight capacity and overall stability are paramount when you modify an IKEA BESTA cabinet for a coffee bar. Coffee machines, grinders, and accessories can be surprisingly heavy, so reinforcing the cabinet's structure is key. Finally, envision the aesthetics: what kind of countertop will complement your home decor? What finishes or hardware will elevate the look? These decisions will guide your material selection and design choices.
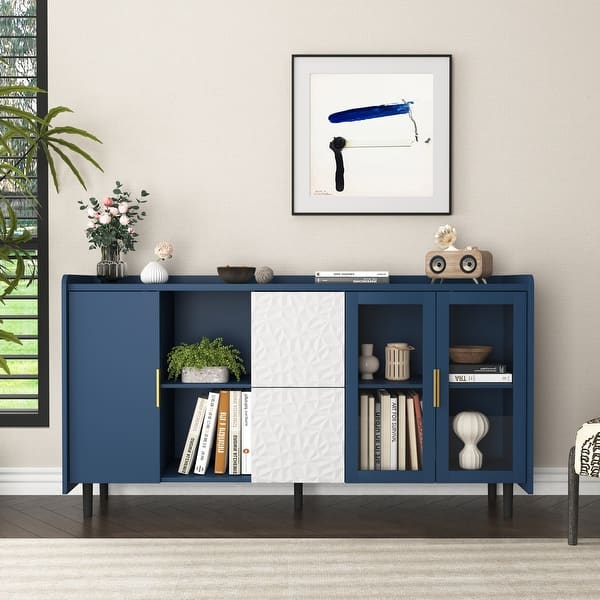
Gathering Your Tools and Materials
Having the right tools and materials on hand is essential for a smooth and successful project when you modify an IKEA BESTA cabinet. Don't underestimate the importance of quality supplies for both safety and durability. A well-stocked toolkit makes all the difference.
For tools, you'll generally need:
- Drill: For pilot holes and driving screws.
- Level: To ensure your cabinet and countertop are perfectly straight.
- Measuring tape and pencil: For accurate measurements and markings.
- Saw: A circular saw or jigsaw if you're cutting your own countertop or internal bracing.
- Screwdriver set: Phillips head is common for IKEA hardware.
- Clamps: To hold pieces securely while attaching.
- Stud finder: If you plan to wall-mount your cabinet.
When it comes to materials, here's what you'll typically need to modify an IKEA BESTA cabinet into a sturdy coffee bar:
- IKEA BESTA cabinet units: The base for your coffee bar. Choose the size and configuration that fits your space.
- Sturdy countertop material: Options include butcher block, laminate, quartz, or even a thick piece of plywood finished to your liking. Butcher block is a popular choice for its warmth and durability.
- Wood for internal reinforcement: Plywood or 1×2/1×3 lumber for cleats and braces.
- Heavy-duty L-brackets or corner braces: For added stability and securing units together.
- Screws: Various lengths suitable for wood, cabinet frames, and countertop attachment. Ensure they are strong enough to support the weight.
- Adhesive: Construction adhesive or wood glue for securing reinforcement and countertop (optional, but recommended for extra bond).
- Finishing supplies: Paint, stain, varnish, or veneer if you're customizing the look of your BESTA or countertop.
- Legs or plinth base: If you're not wall-mounting and want to elevate the cabinet. IKEA offers various BESTA legs, but you might opt for stronger, third-party legs or build a custom plinth.
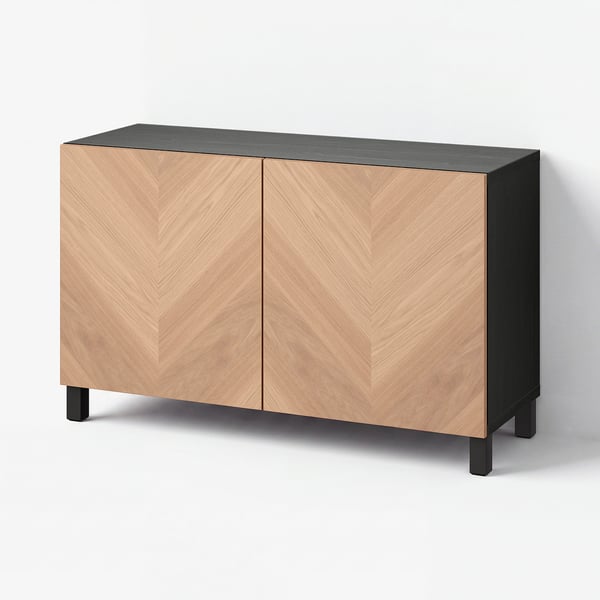
Step-by-Step Guide to Modifying Your BESTA Coffee Bar
Now for the exciting part – the hands-on transformation! This step-by-step guide will walk you through how to modify an IKEA BESTA cabinet into the sturdy coffee bar counter you’ve envisioned.
Assembling the BESTA Base
Start by assembling your chosen IKEA BESTA cabinet units according to the IKEA instructions. This initial assembly provides the basic framework. If you're using multiple BESTA units side-by-side, it's crucial to connect them securely. Use the provided connectors, but for extra strength, I always recommend adding additional screws or L-brackets along the internal edges where the units meet. This creates a more monolithic and robust base, which is vital when you modify an IKEA BESTA cabinet for heavy use.
Reinforcing for Stability and Durability
This is arguably the most critical step to ensure your coffee bar counter is sturdy. The standard BESTA frame is designed for general storage, not necessarily heavy appliances. To make your BESTA coffee bar truly robust, you'll need to reinforce it.
- Internal Bracing: Cut pieces of plywood (1/2" or 3/4" thick) or 1×2/1×3 lumber to create internal cleats. Attach these horizontally along the top inside edges of the BESTA cabinet frames, especially where the countertop will sit. Use wood glue and screws, ensuring the screws don't protrude through the exterior. These cleats provide a solid surface for attaching the countertop and distribute its weight more evenly.
- Back Panel Reinforcement: The thin fiberboard back panel of a BESTA isn't load-bearing. Consider replacing it with a thicker plywood panel, or at least securing it more thoroughly with small screws all around the perimeter instead of just the tiny pins IKEA provides. This prevents racking and adds rigidity, making your decision to modify an IKEA BESTA cabinet a success.
- Legs vs. Plinth Base vs. Wall Mount:
- Sturdy Legs: If using legs, opt for heavier-duty metal or solid wood legs from IKEA or a third-party supplier. Attach them directly to the reinforced base of the BESTA.
- Plinth Base: Building a custom plinth base out of 2x4s or plywood offers excellent stability and a built-in look. This distributes weight across the entire bottom surface.
- Wall Mounting: For maximum stability, especially if you have heavy machinery or children, wall-mounting your BESTA units is highly recommended. Use a stud finder to locate wall studs and use appropriate heavy-duty wall anchors and screws through the top back rail of the BESTA. This is the ultimate way to modify an IKEA BESTA cabinet to be unshakeable.
Installing Your Sturdy Countertop
Choosing and attaching the right countertop is key to the aesthetic and functionality of your coffee bar.
- Countertop Material: Butcher block is popular for its warmth and ease of customization. Laminate is budget-friendly and easy to clean. Quartz or granite offer a luxurious, durable, but heavier option. Ensure your countertop is cut to the desired dimensions, with an appropriate overhang.
- Attaching the Countertop: Place your chosen countertop onto the reinforced BESTA frame. Ensure it's perfectly centered and level. From inside the BESTA cabinet, drive screws upwards through the internal wood cleats you added and into the underside of the countertop. For heavier countertops, a strong construction adhesive can also be applied to the top edges of the BESTA frame before placing the countertop, providing an extra bond. Use enough screws to secure it firmly, typically every 12-18 inches.
Adding Practical and Aesthetic Touches
Once the core structure is complete, it's time to personalize and add functionality to your coffee bar counter.
- Shelving and Drawers: Install shelves for mugs and coffee beans, or add BESTA drawers for organized storage of filters, stirrers, and cleaning supplies. These internal additions further enhance the utility of your modified IKEA BESTA cabinet.
- Lighting: Under-cabinet LED strip lighting can add ambiance and illuminate your brewing area. Battery-operated options are great for renters, or you can hardwire them if you're comfortable with basic electrical work.
- Power Outlets: Consider adding a hidden power strip inside a cabinet or drilling discreet holes for cord management. Always ensure any electrical modifications are done safely and according to local codes.
- Finishing Touches: Paint or veneer the BESTA cabinets for a custom look that matches your decor. Add decorative hardware to doors and drawers. These small details can drastically change the perception of your modified IKEA BESTA cabinet to serve as a sturdy coffee bar counter.

Troubleshooting Common Challenges
Even with careful planning, you might encounter a few snags when you modify an IKEA BESTA cabinet. Here are some common issues and how to tackle them.
One frequent problem is a wobbly unit, often caused by uneven floors or insufficient reinforcement. Double-check that all connections between BESTA units are tight, add more L-brackets if needed, and ensure any legs are evenly adjusted. Wall anchoring is the best defense against wobbling, providing unmatched stability for your coffee bar. If your countertop appears uneven, use shims beneath the lower sections of the BESTA base before attaching the countertop to level everything out. Lastly, cable management for coffee makers and grinders can be a messy affair. Consider drilling small, neat holes in the back panel (reinforced, of course) or side panels to feed cords through, keeping them out of sight.
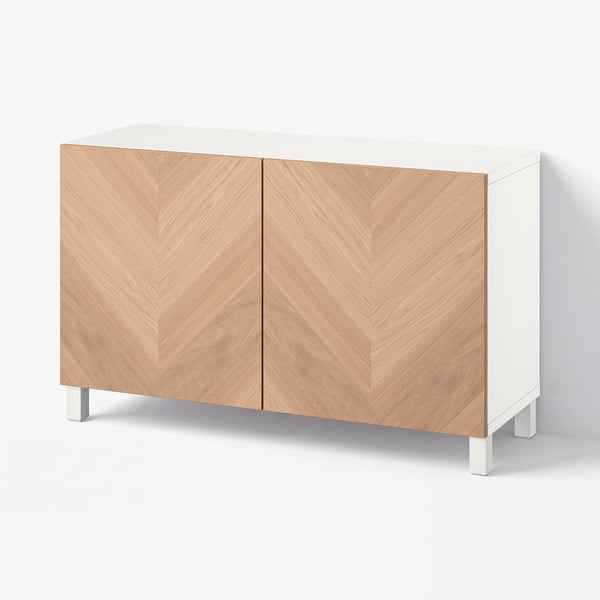
Maintaining Your Custom IKEA BESTA Coffee Bar
Once your beautiful and sturdy coffee bar counter is complete, a little ongoing care will keep it looking great and functioning perfectly for years to come. Regular maintenance helps preserve your investment and ensures its longevity.
For daily cleaning, simply wipe down surfaces with a damp cloth and mild cleaner suitable for your countertop material and cabinet finish. Avoid abrasive cleaners that could damage surfaces. Periodically, especially after heavy use, it's a good idea to check all screws and connections to ensure they remain tight. Over time, vibrations from coffee grinders or daily use can sometimes loosen fasteners. Tightening these will prevent any wobbling and maintain the structural integrity of your modified IKEA BESTA cabinet, ensuring it continues to serve as a reliable coffee bar counter.
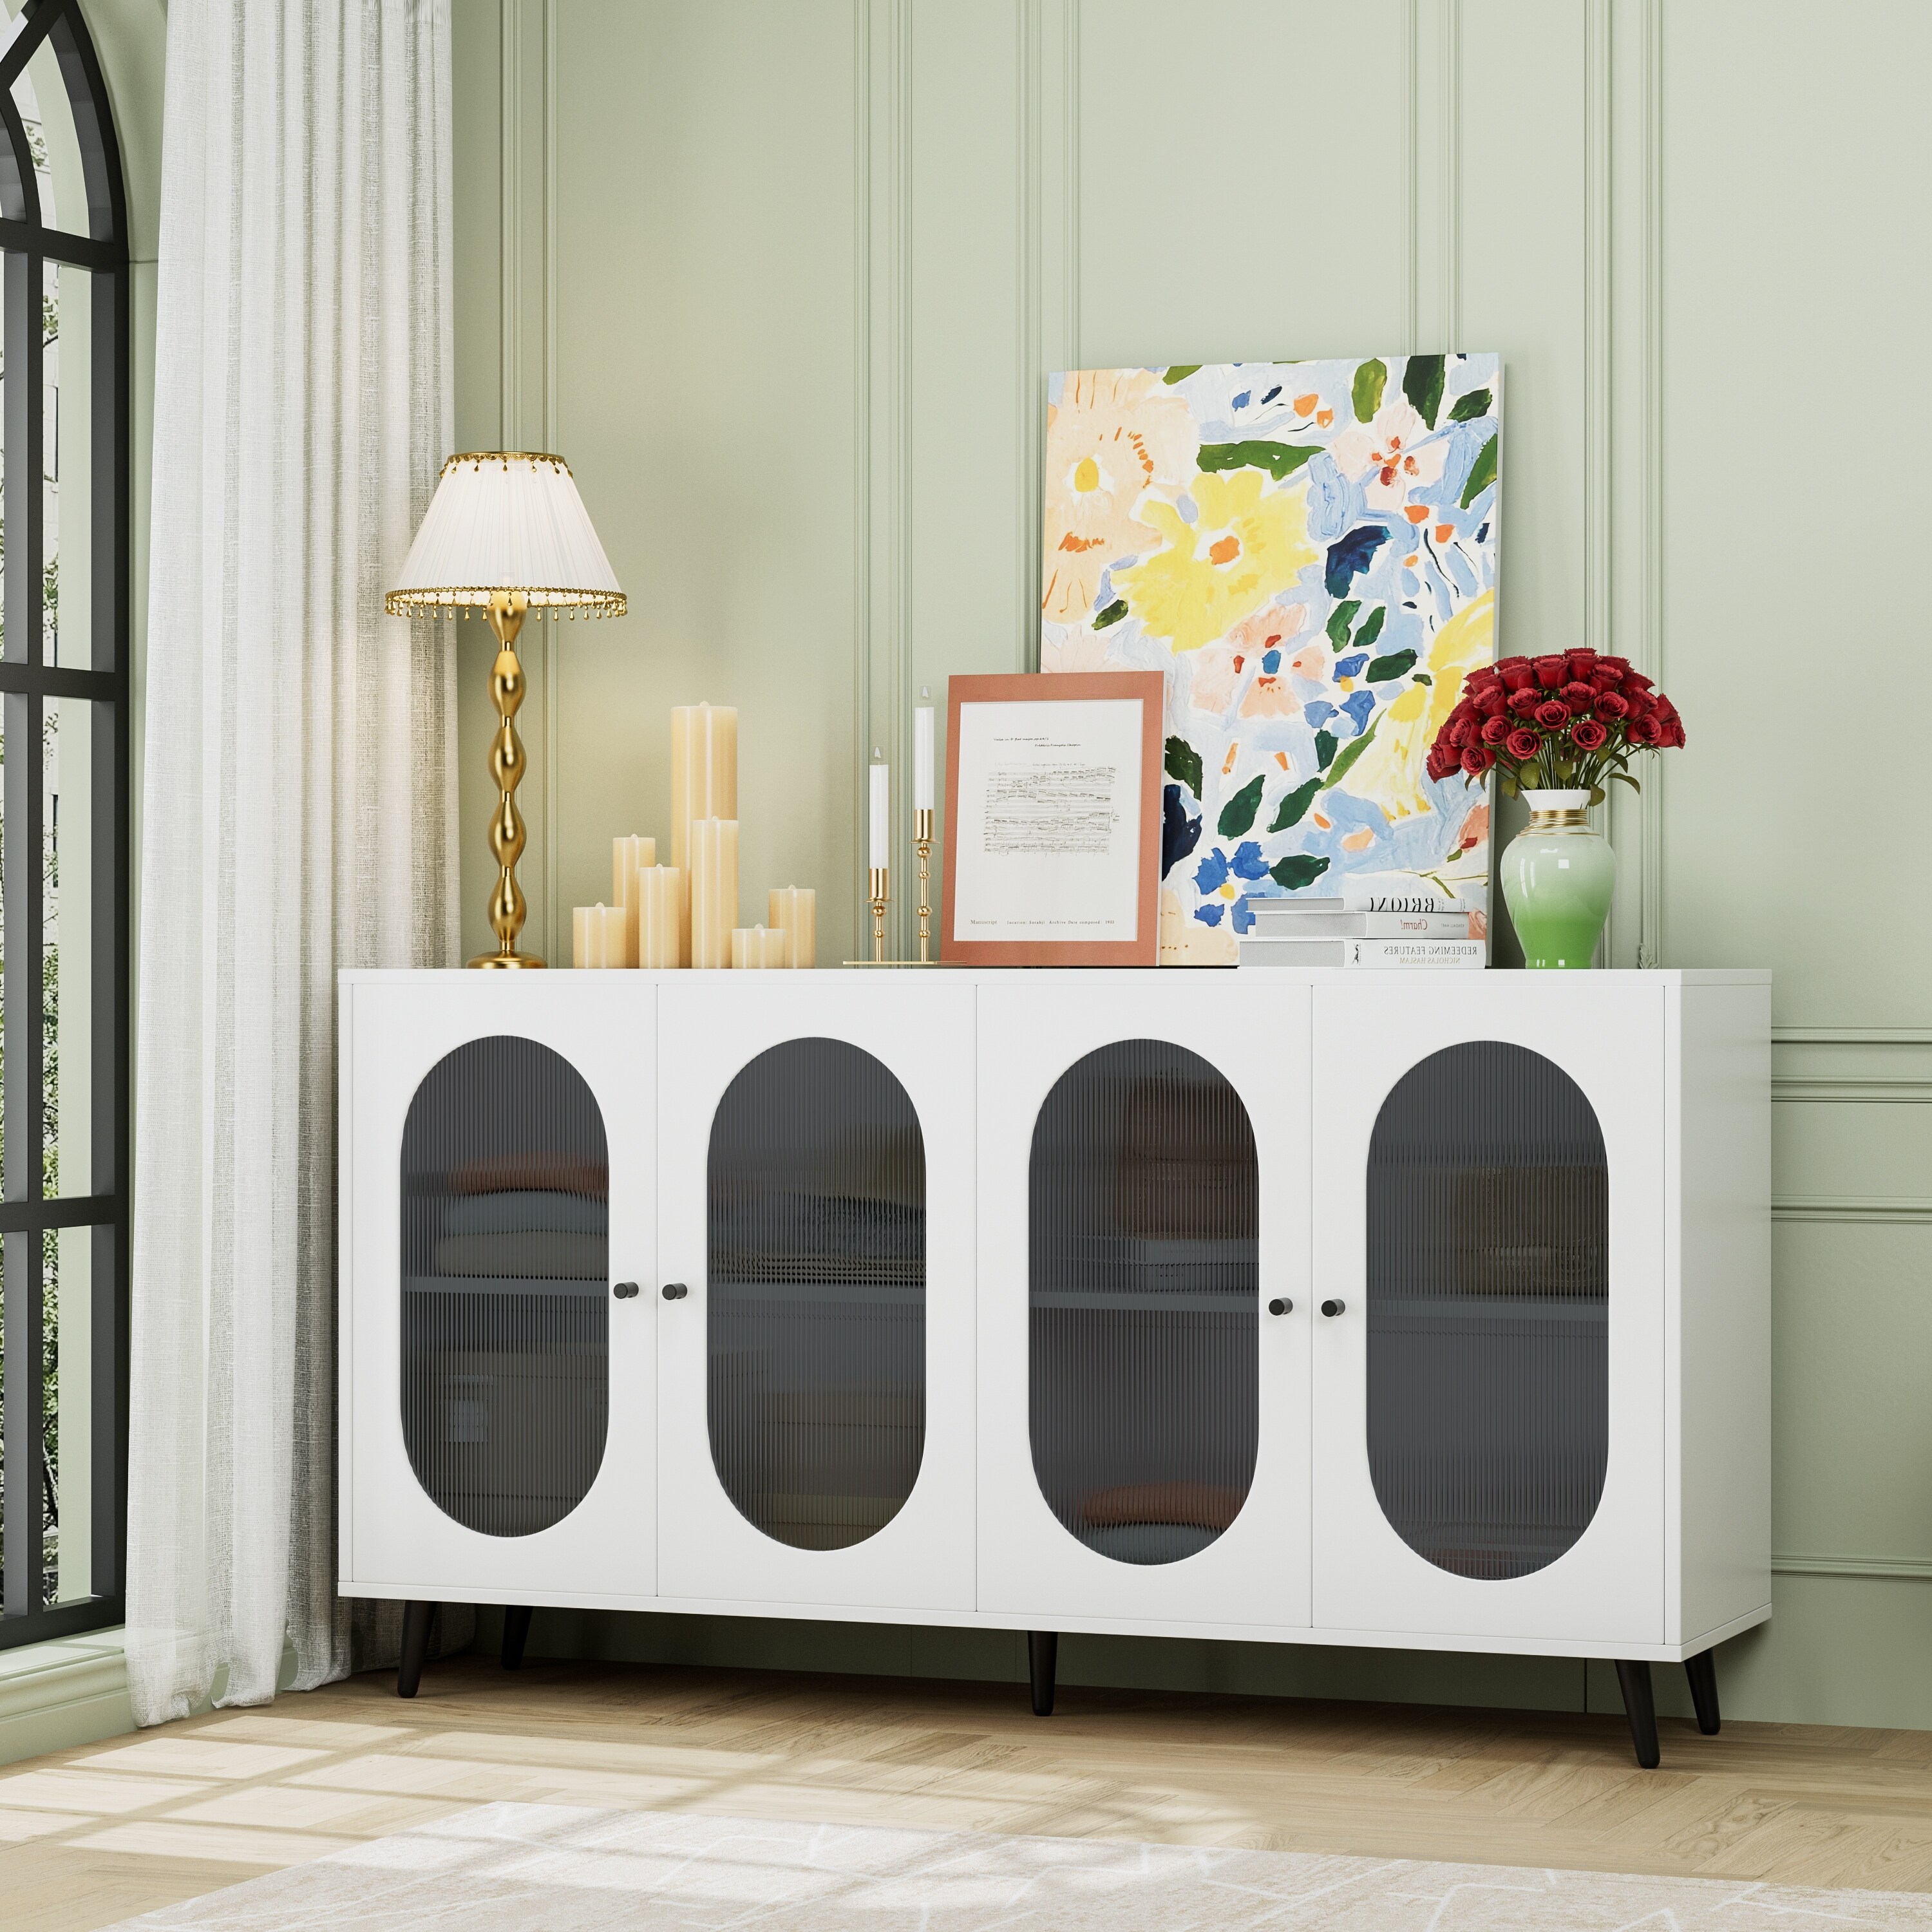
Frequently Asked Questions of How can I modify an IKEA BESTA cabinet to serve as a sturdy coffee bar counter?
How much weight can a modified BESTA coffee bar hold?
A properly reinforced and wall-mounted BESTA coffee bar can hold a significant amount of weight, easily supporting multiple coffee machines, grinders, and ceramic mugs. Internal wood bracing and a sturdy countertop are crucial for maximizing its load capacity.
Do I need to anchor my BESTA coffee bar to the wall?
While not always strictly necessary for light items, anchoring your BESTA coffee bar to the wall is highly recommended for maximum stability and safety, especially if you have heavy appliances or children. It prevents tipping and adds significant sturdiness.
What type of countertop is best for a coffee bar?
Butcher block is a popular choice for its warmth and durability, offering a great surface when you modify an IKEA BESTA cabinet. Laminate is also a good, cost-effective option, while quartz or granite provide a premium, very durable, but heavier surface that requires more robust support.
Can I add a sink to my BESTA coffee bar?
Adding a sink to a BESTA coffee bar is possible but significantly increases the complexity, requiring plumbing work, waterproof sealing, and specific cutouts. It's generally recommended for advanced DIYers or those with professional help.
How long does it take to modify a BESTA into a coffee bar?
The time it takes to modify an IKEA BESTA cabinet into a coffee bar can vary greatly depending on your experience and the complexity of your design. Simple modifications might take a weekend, while more elaborate projects with custom finishes or plumbing could take several days.
Conclusion
Transforming an IKEA BESTA cabinet into a sturdy coffee bar counter is a rewarding DIY project that combines affordability with personalized style. By focusing on smart reinforcement techniques, selecting the right materials, and carefully following each step, you can create a custom coffee station that perfectly fits your home and brewing habits. This hack isn't just about assembling furniture; it's about building a functional and beautiful piece that enhances your daily routine.
Ready to create the coffee bar of your dreams? Gather your tools, visualize your perfect setup, and start planning your IKEA BESTA modification today. Feel free to share your progress or ask any questions in the comments below – I'd love to hear about your coffee bar journey!