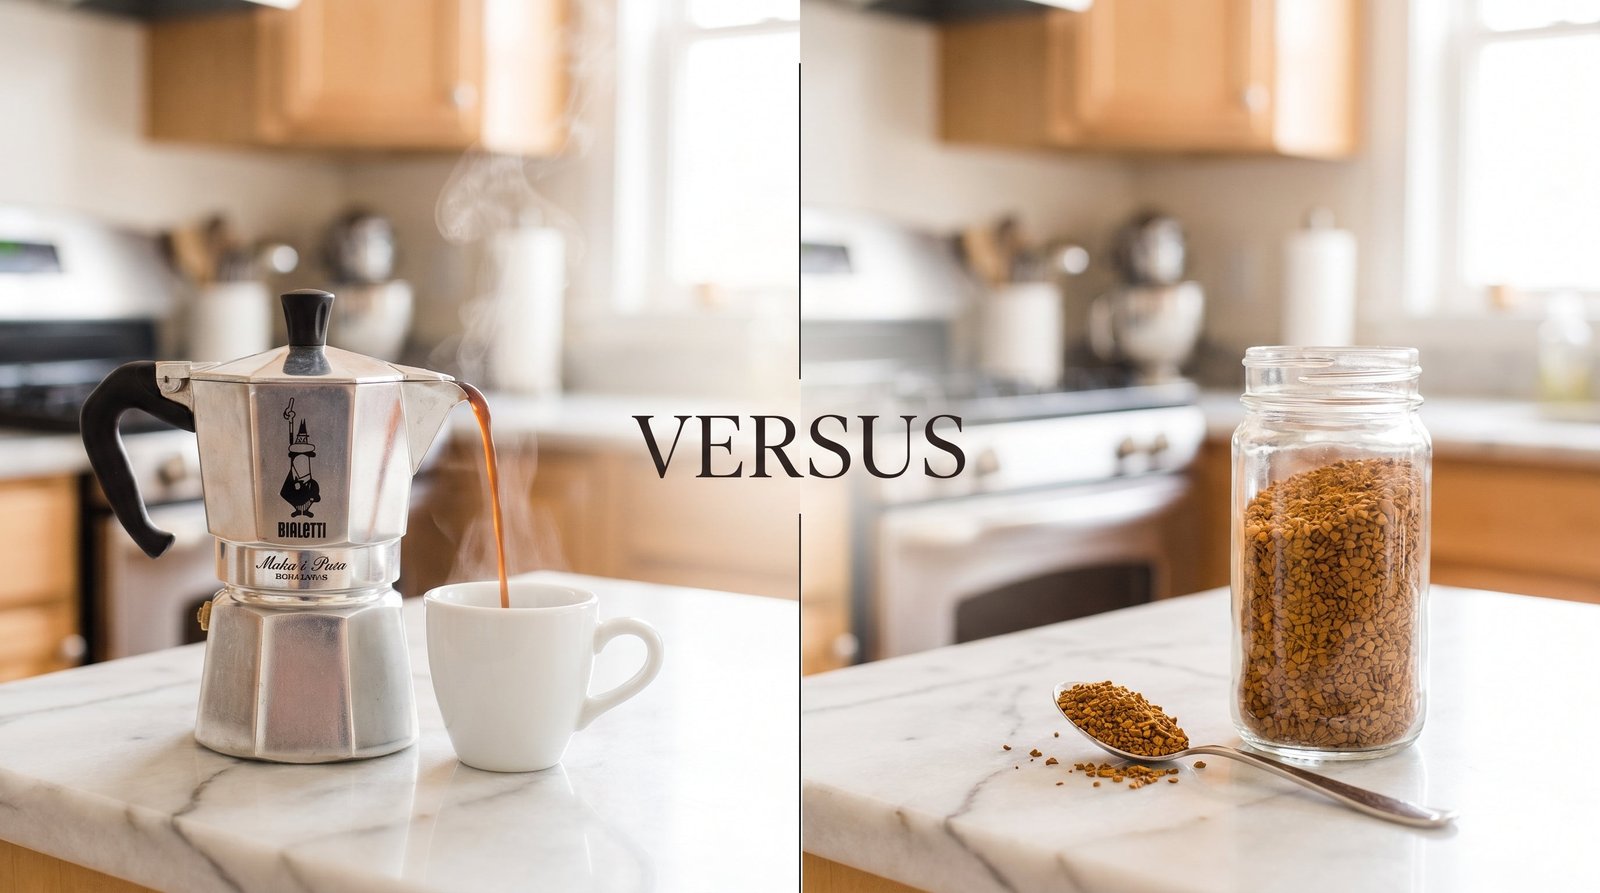
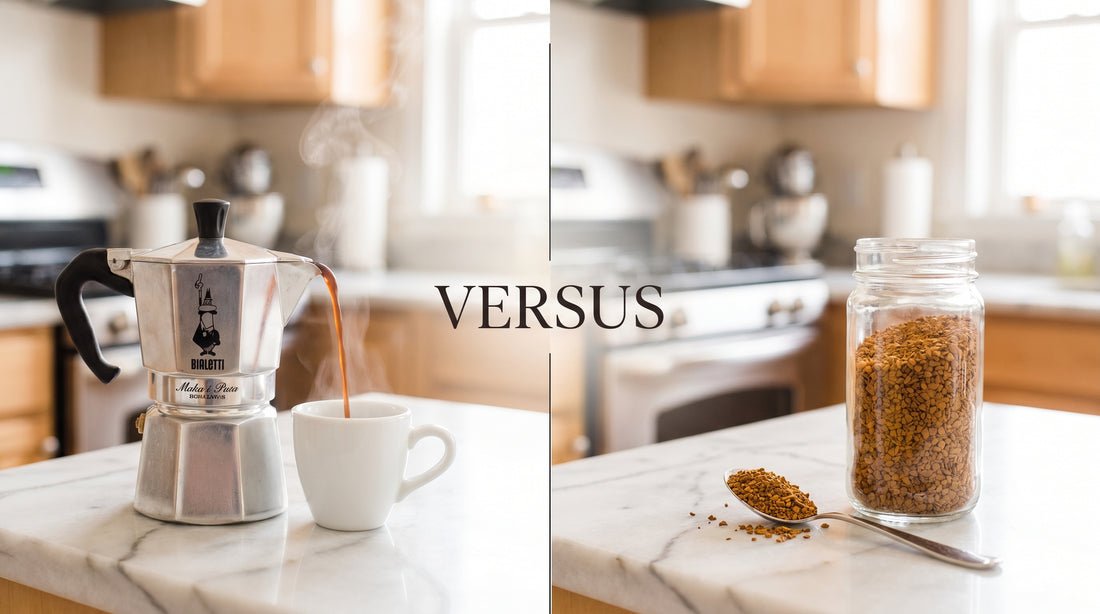
Moka Pot Guide for People Who Grew Up on Instant Coffee
A moka pot guide for people who grew up on instant coffee shows that you need about 20 grams of medium-fine coffee to fill the basket for a standard 3-cup brewer. This simple tool creates a concentrated, espresso-like drink by using steam pressure to push water through grounds.
Understanding the stovetop brewer
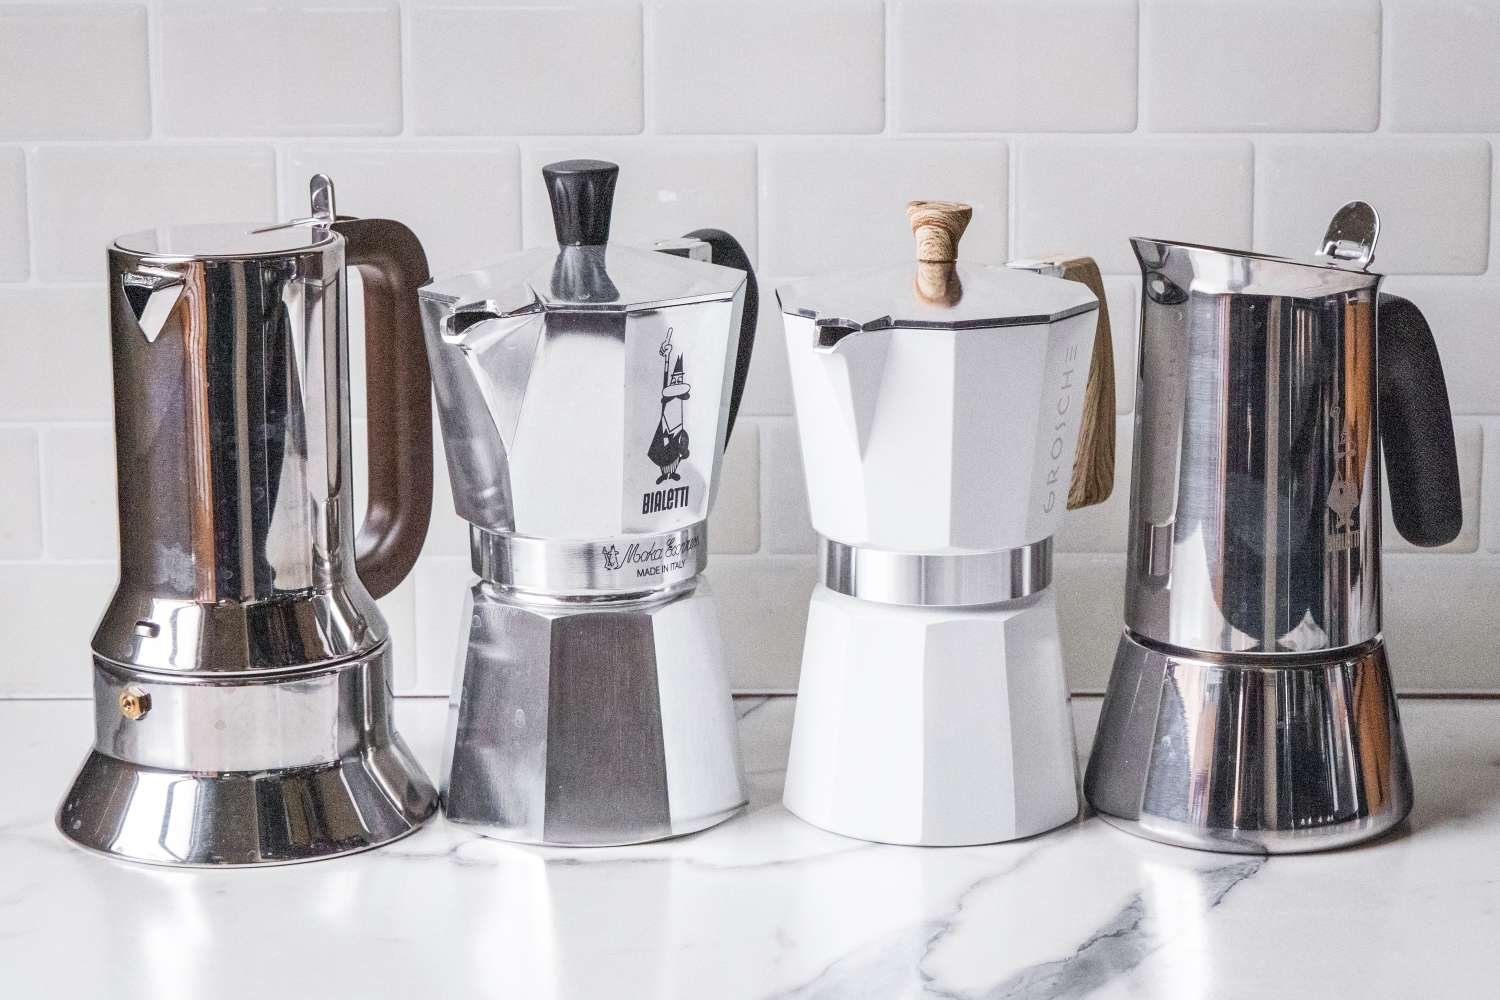
A moka pot is a three-part metal device that sits directly on your stove to brew coffee. It consists of a bottom water reservoir, a middle filter basket for grounds, and a top chamber where the brewed coffee collects. People often think it makes true high-pressure espresso, but it actually produces a much lower-pressure, intense cup. It’s ideal for those wanting a stronger flavor than instant coffee without buying an expensive machine.
A Moka Pot Guide for Instant Coffee Drinkers
- Fill the bottom reservoir with fresh water up to the bottom of the safety valve.
- Insert the filter basket and fill it with coffee grounds until level, but don’t press or pack the grounds down.
- Screw the top chamber onto the base firmly using a towel if the base is already hot.
- Place the pot on a stove burner set to medium-low heat.
- Leave the lid open to watch the flow; once the stream turns pale or begins to sputter, take it off the heat immediately.
- Run the bottom of the pot under cold water for 10 seconds to stop the brewing process.
Success depends on heat control. If the heat is too high, the coffee will taste bitter or burnt. If you’re using an induction stove, ensure your pot is labeled as induction-compatible by the manufacturer, as aluminum models won’t work without an induction interface disk.
Key numbers and settings at a glance
| Situation | What to use | How long | What to watch for |
|---|---|---|---|
| Cold water start | Room temp water | 5–8 minutes | Steam escaping the valve |
| Hot water start | Pre-boiled water | 2–4 minutes | Handle getting too hot |
| Dark roast beans | Medium-fine grind | 3–5 minutes | Bitter, metallic taste |
| Light roast beans | Fine grind | 4–6 minutes | Sour or thin body |
| Induction stove | Compatible base | 3–5 minutes | Pot sliding on glass |
Achieving a balanced extraction
Experienced brewers know that the secret lies in the grind and the water temperature. A grind that’s too coarse will result in watery, weak coffee, while a grind that’s too fine can clog the filter and create excess pressure. Use a medium-fine grind, similar to table salt.
Another detail that changes the result is the water temperature. Pre-heated water reduces the time grounds spend in the basket while the base heats. This prevents the coffee from “cooking” in the heat before it even starts to brew.
Common problems and quick fixes
| What you notice | What it usually means | What to do first |
|---|---|---|
| Bitter, burnt taste | Over-extraction | Lower the stove heat |
| Watery, weak coffee | Too coarse grind | Use a finer grind |
| Coffee leaks from middle | Loose seal | Tighten the two halves |
| No coffee comes out | Blocked filter | Check for packed grounds |
Safety and maintenance rules

Always inspect the rubber gasket and the pressure release valve before every use. If the valve looks clogged with mineral deposits or coffee oils, clean it thoroughly before brewing. If the rubber gasket feels hard or brittle, replace it immediately to prevent leaks. Never leave the pot unattended while on the stove, as the metal handles can become extremely hot and cause burns.
Cleaning and long-term care
After each use, let the pot cool completely before taking it apart. Wash the parts by hand using warm water and a soft sponge. Avoid putting the pot in the dishwasher, as the harsh detergents can corrode aluminum and ruin the finish. Dry every piece completely with a cloth before reassembling to prevent mold or odors. If you notice a white, chalky buildup inside the reservoir, soak the base in a mixture of one part white vinegar and two parts water for 30 minutes, then rinse well.
When to use a different approach
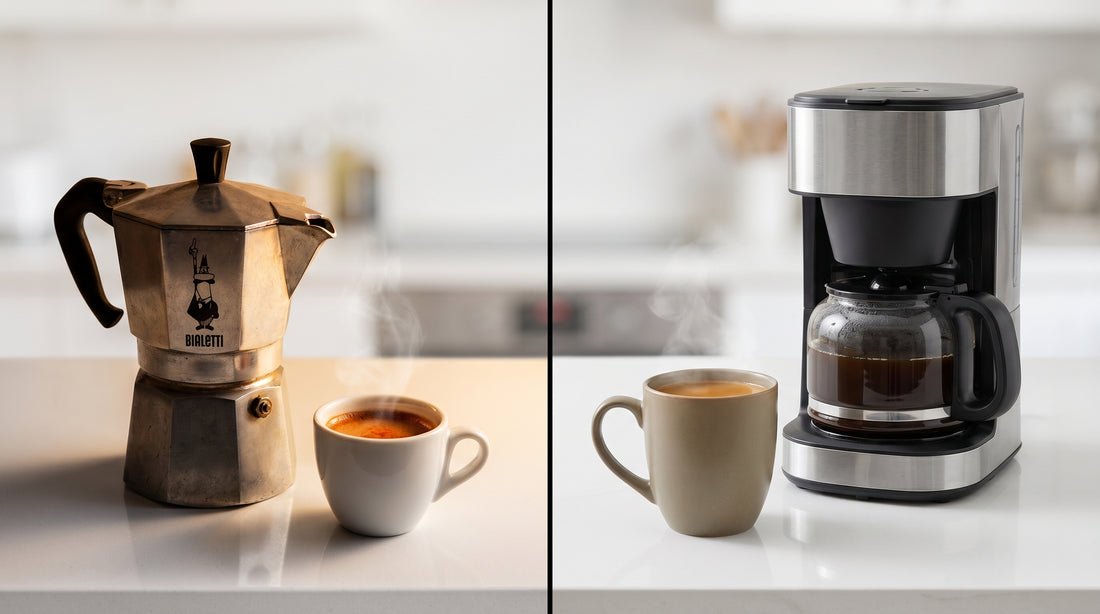
If you need a large volume of coffee to fill a travel mug, a moka pot is likely too small and slow.
Frequently asked questions
Can I use a moka pot on a glass cooktop?
Yes, you can use a moka pot on a glass or ceramic cooktop, but ensure the base is clean and flat to avoid scratching the surface or damaging the heating element.
Why is my coffee leaking from the side?
It’s leaking because the rubber gasket is worn out or the two halves aren’t screwed together tightly enough; check the seal for debris or cracks before brewing again.
How long does a moka pot last?
It lasts for many years if you clean it properly and replace the rubber gasket and filter screen whenever they become worn, brittle, or difficult to keep clean.
Is it safe to use an aluminum moka pot?
Yes, it’s safe to use an aluminum pot for brewing coffee, provided you maintain it according to the manufacturer’s instructions and don’t use harsh chemicals for cleaning.
What happens if I pack the grounds?
Packing the grounds creates too much resistance for the steam, which can cause the pressure to rise dangerously or force water to leak out from the sides of the pot.
How do I know when the coffee is done?
It’s done when you hear a gurgling or hissing sound and the flow of coffee into the top chamber turns from a steady stream to a pale, sputtering mist.
Conclusion
Using a moka pot is a skill that rewards patience and attention to detail. Once you master the heat settings and the grind size, you’ll find it’s a reliable way to make strong, café-style coffee at home. Start with fresh beans and clean water, and adjust your technique based on the taste of your first few cups until you find the perfect balance for your own palate.
Related guides