
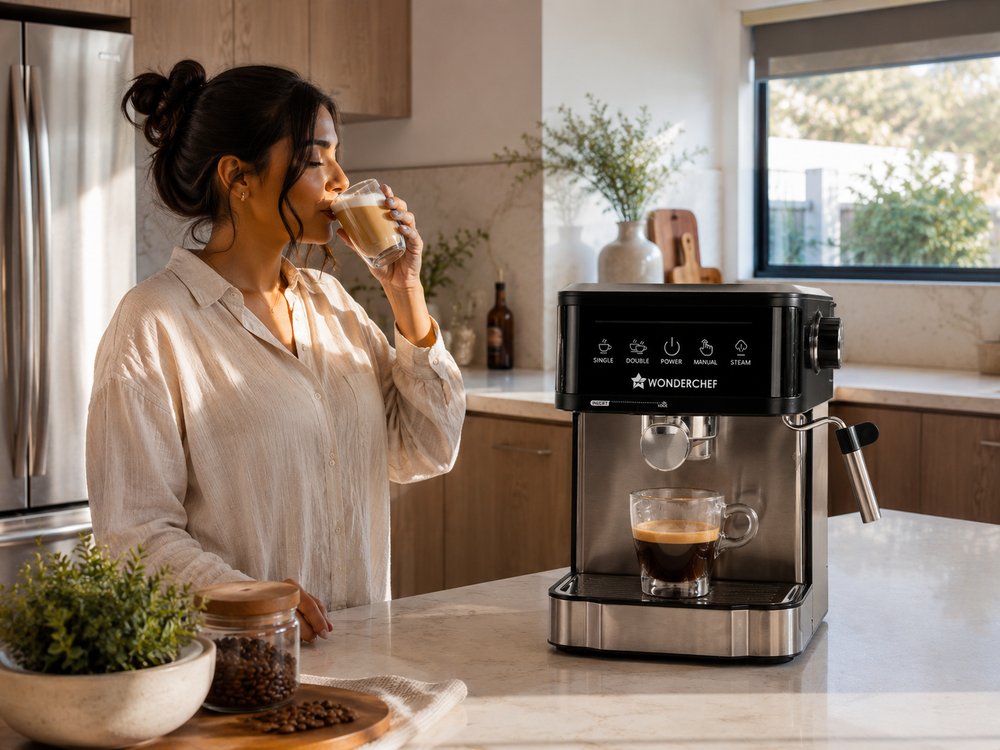
How to Use a Coffee Maker for the First Time (New Homeowner’s Guide)
This guide helps a new homeowner set up a coffee maker for the first time. You must run a full cycle with only water to clean the machine and remove factory dust before brewing. The following steps cover essential setup, cleaning, and basic troubleshooting for your appliance.
Setting Up Your New Machine
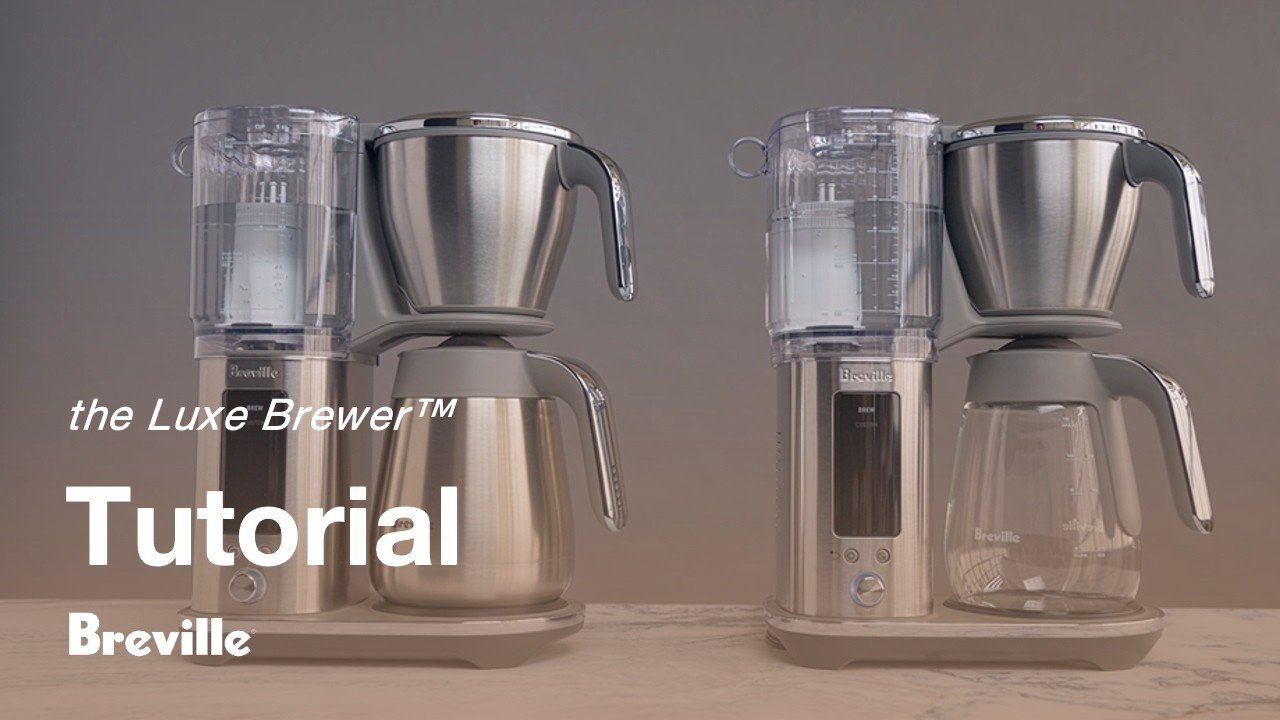
A coffee maker is a simple appliance designed to heat water and pass it through ground coffee beans. It’s perfect for anyone wanting a quick, consistent cup at home. Many people believe you can use any water, but using filtered water is better for both the taste and the machine. Hard water contains minerals that build up inside the heating element over time. According to the United States Environmental Protection Agency, water quality varies by location, so if your tap water tastes like chlorine or has a strong odor, a simple carbon filter will improve your coffee quality significantly. This is for anyone who enjoys a fresh brew but wants to avoid the cost of daily cafe visits.
Basic Steps for Your First Brew
- Fill the water reservoir to the “4” cup line with cold, fresh water.
- Place a paper filter into the basket if your machine requires one.
- Add 2 tablespoons of medium-grind coffee into the filter for every 6 ounces of water.
- Ensure the carafe is sitting flat on the warming plate.
- Close the lid securely and press the “on” or “brew” button.
- Wait until the dripping sound stops completely before you remove the carafe.
- Turn the machine off immediately once the brewing cycle finishes.
A good result depends on the ratio of coffee to water. If you use too little coffee, the brew will be watery; too much will make it bitter. If you’re unsure about the specific power requirements or safety features of your model, check the manual provided by the manufacturer to avoid electrical hazards or damage.
Key Settings and Brewing Times
| Situation | What to use | How long | What to watch for |
|---|---|---|---|
| Initial cleaning | Cold water only | 5–8 minutes | Steam escaping lid |
| Standard brew | Medium grind | 6–10 minutes | Water level indicator |
| Single serving | Cold water | 3–5 minutes | Splash-back from basket |
| Large batch | Cold water | 10–12 minutes | Carafe capacity limit |
Tips for Better Coffee
Experienced users know that the secret to great coffee is keeping the equipment clean. Always empty the used grounds immediately after the machine cools down. If you leave wet grounds in the basket, they can grow mold or attract pests.
Another detail is the warming plate. It’s designed to keep coffee warm for a short time, but leaving it on for more than 30 minutes will “cook” the coffee, making it taste burnt and acidic. If you find yourself making more than you can drink in 20 minutes, consider pouring the extra into a thermal carafe or a travel mug instead. This simple switch prevents the flavor from degrading while the coffee sits on the hot plate.
Common Problems and Quick Fixes
| What you notice | What it usually means | What to do first |
|---|---|---|
| Water leaks out | Lid not closed | Check the seal |
| Coffee is cold | Heating element issue | Check power connection |
| Slow brewing | Mineral buildup | Run a vinegar cycle |
| Bitter taste | Over-extraction | Use coarser grounds |
Safety and Maintenance Rules
Always follow the manufacturer’s guidelines for descaling your machine. The frequency depends on your usage and water hardness, so consult your owner’s manual for the specific requirements for your model. Always unplug the device before you attempt to clean the exterior or move it. If the power cord shows any signs of fraying or heat damage, stop using the machine immediately and contact the manufacturer for a replacement part.
Keeping Your Coffee Maker Clean
To maintain your machine, wipe the warming plate with a damp cloth after it cools down to prevent sticky coffee stains from hardening. Rinse the removable basket and carafe with warm, soapy water after every use. Never submerge the main electrical unit in water. If you notice a white, chalky residue inside the water reservoir, it’s time to run a cycle with a mixture of half white vinegar and half water to dissolve the mineral scale.
When to Try Another Method
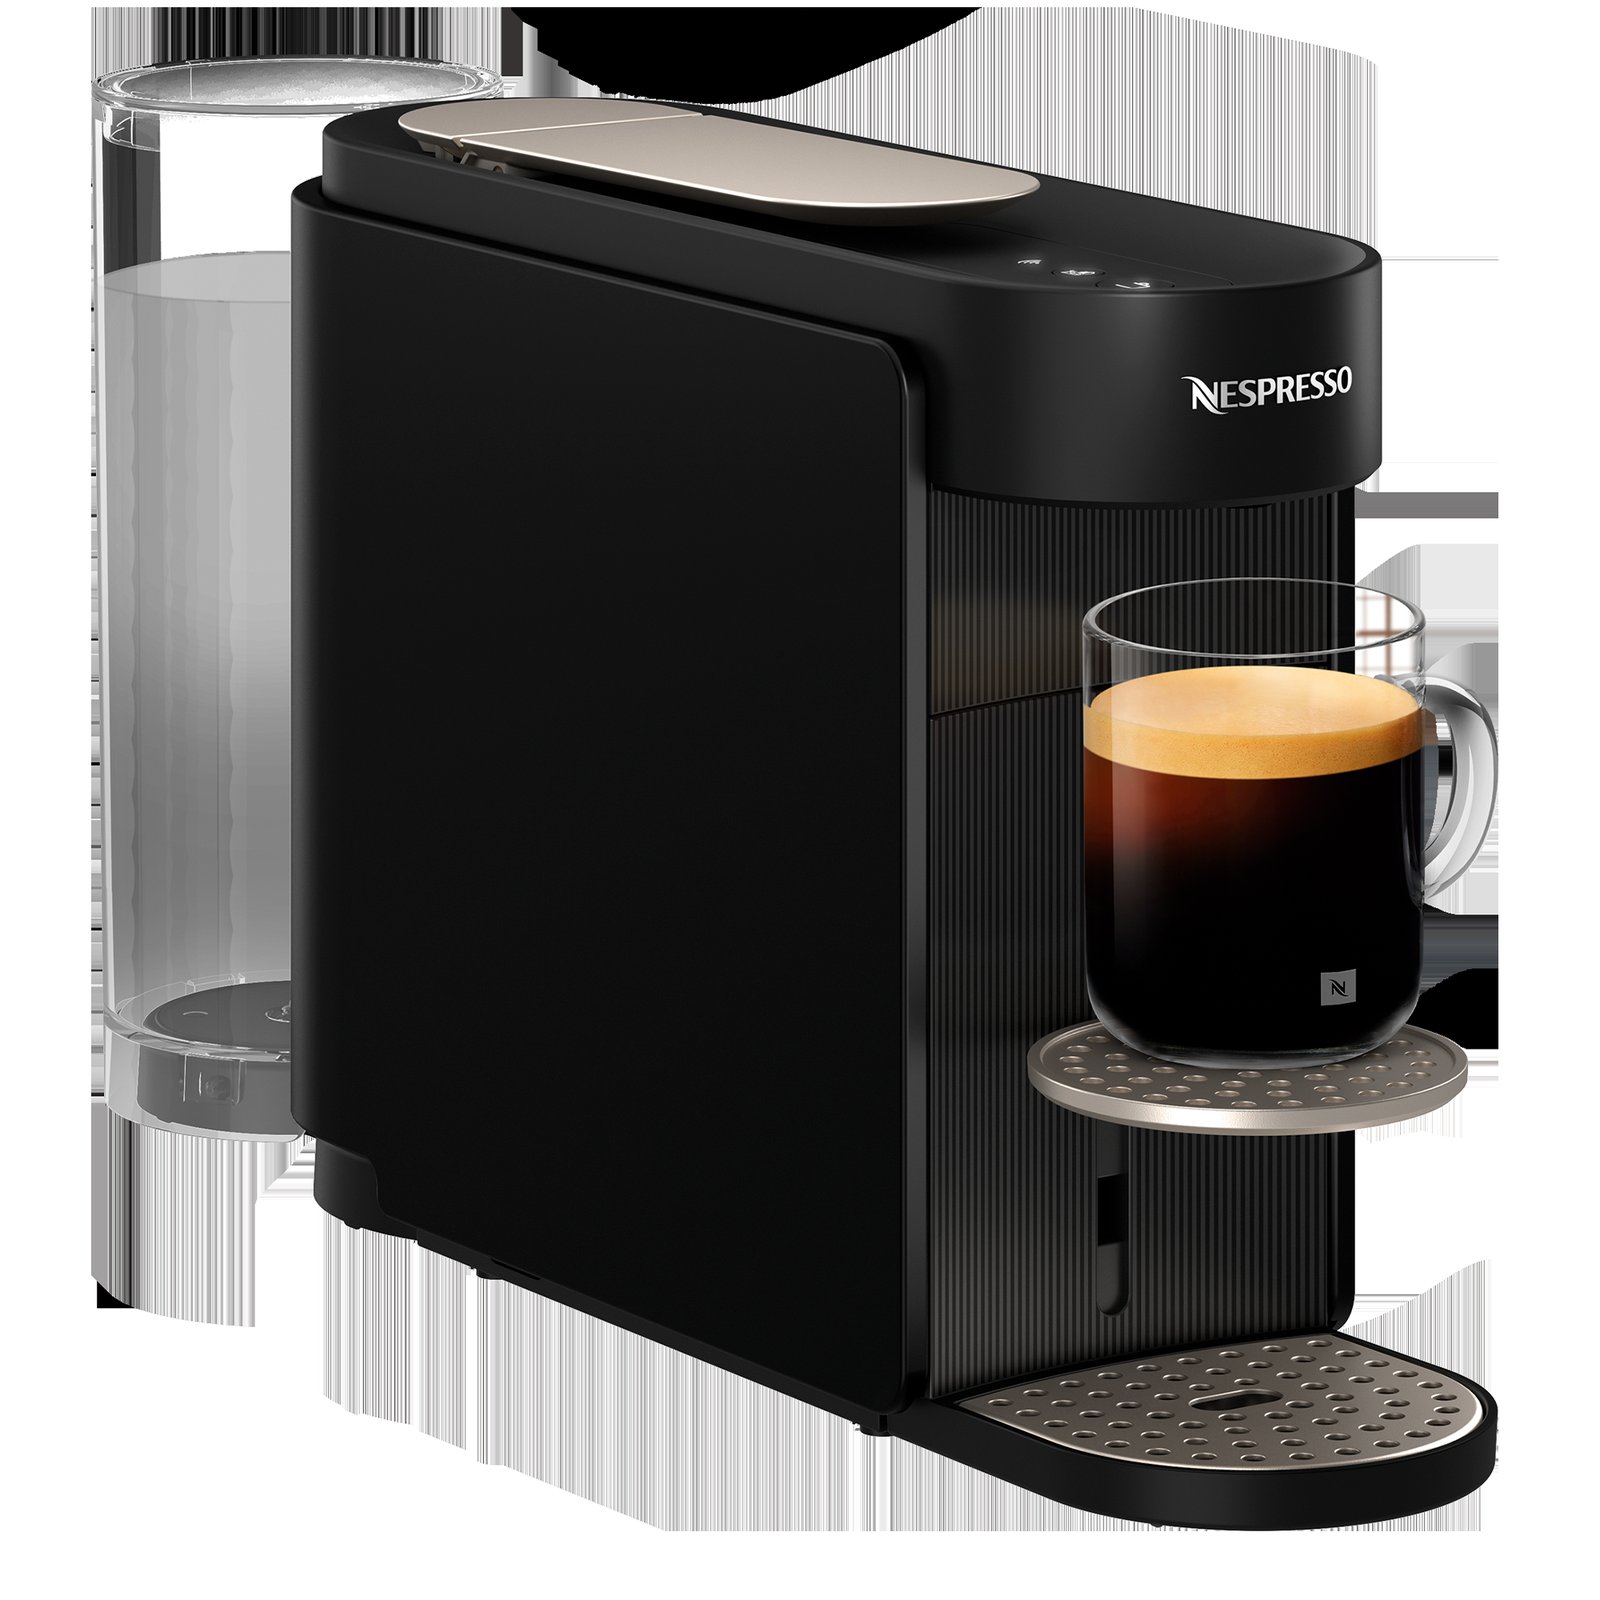
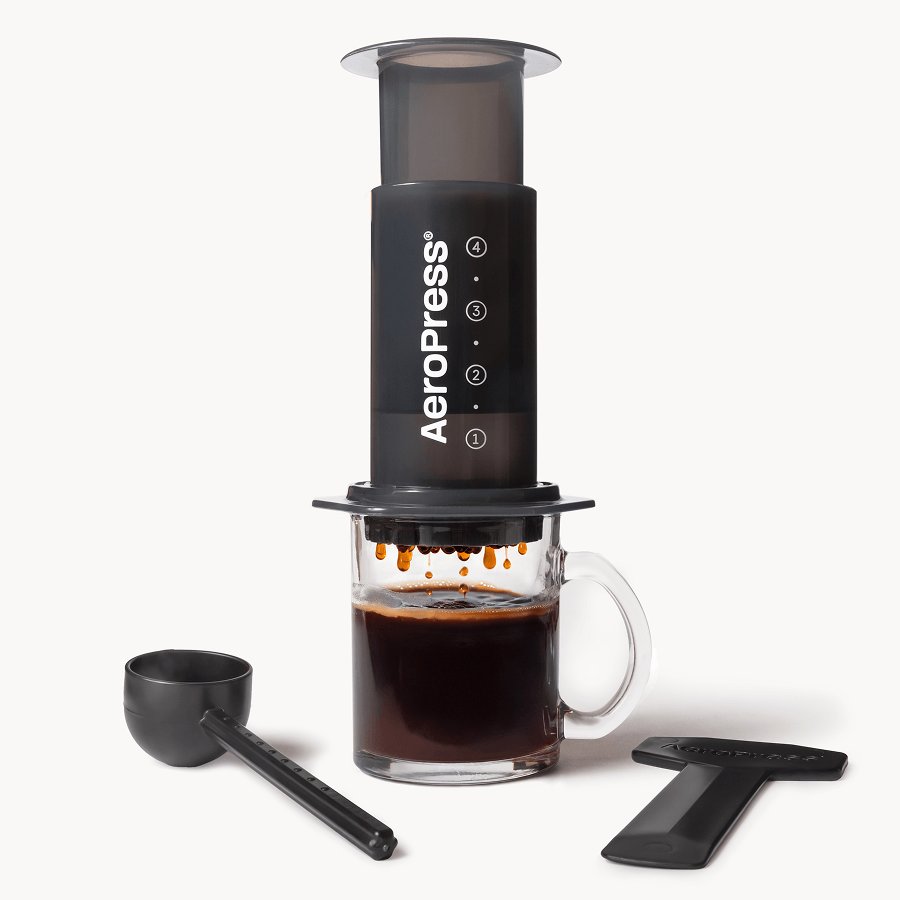
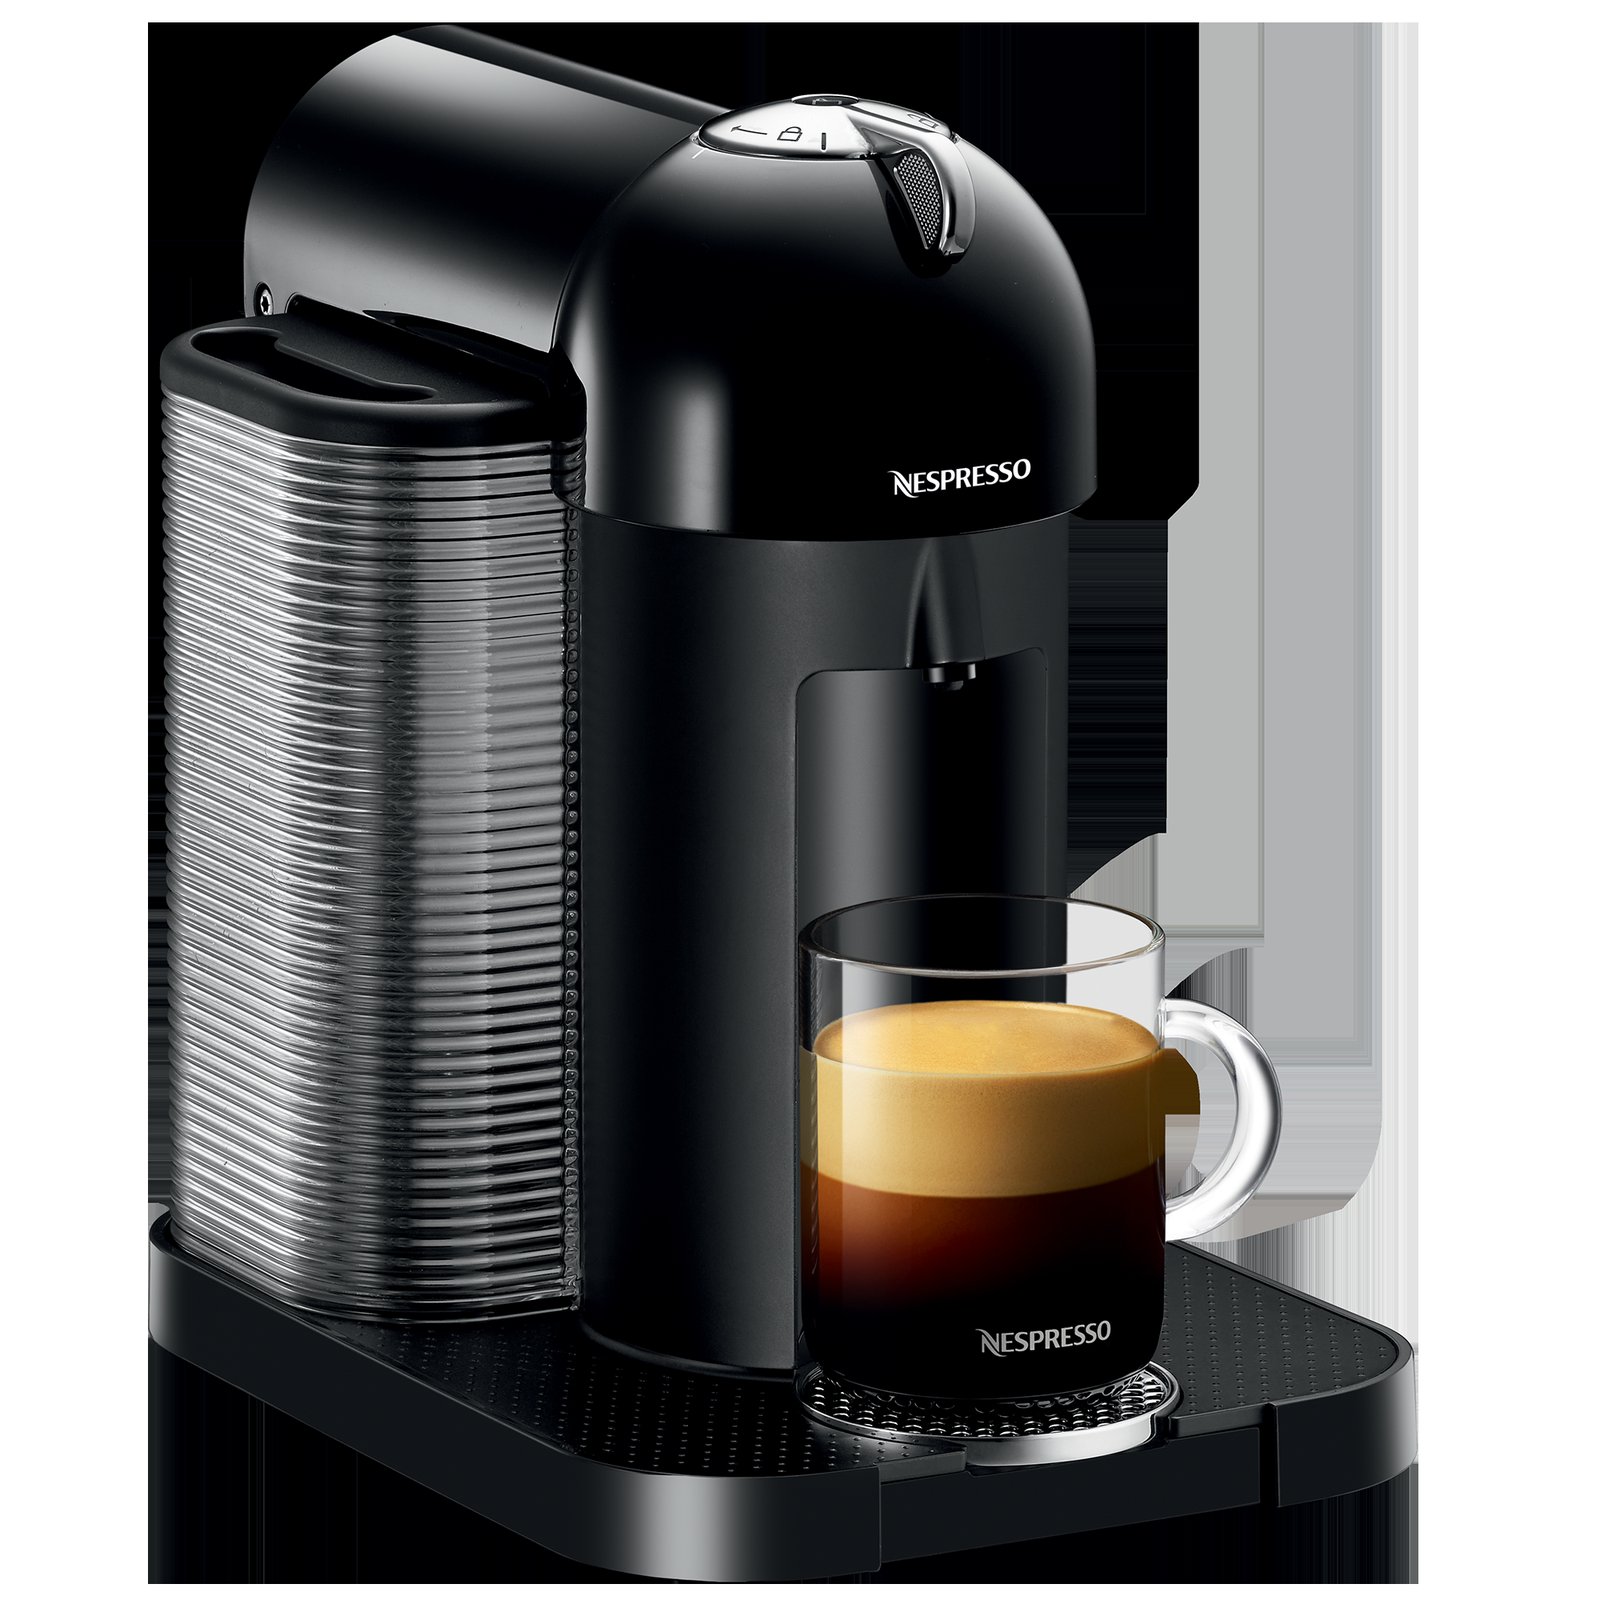
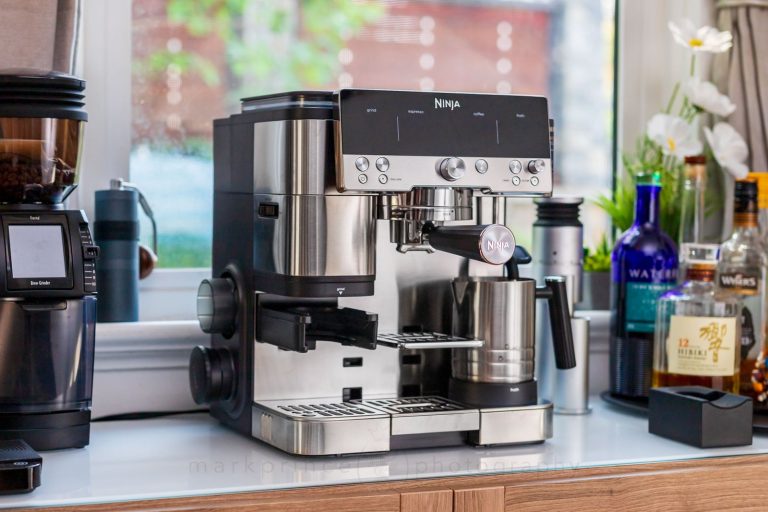
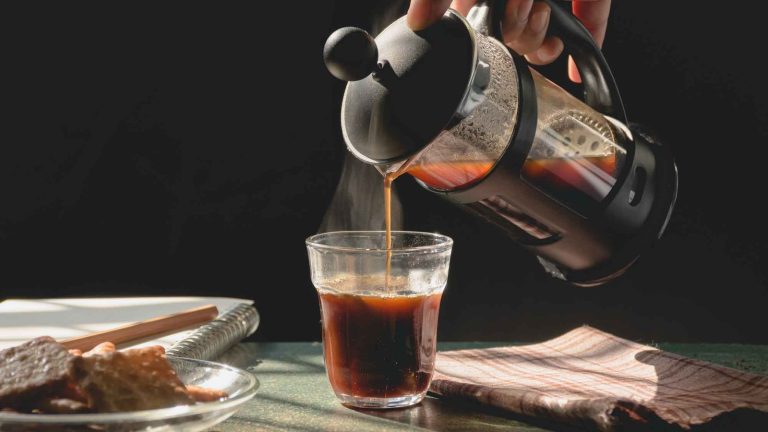
This approach works for standard drip coffee makers. If you want a stronger, concentrated flavor, this machine is the wrong choice. Instead, use a French press or an espresso machine. These methods allow for more control over the pressure and steep time. If you prefer convenience above all else, a pod-based system is a better alternative because it requires less cleanup and measures the dose for you every time.
Frequently asked questions
How long should I wait before drinking?
Wait about 2 to 3 minutes after the brew cycle ends. This allows the coffee to settle and ensures the temperature drops to a level that’s safe for drinking.
Is it safe to leave the machine on?
No, you should never leave the machine on unattended. Most modern units have an auto-shutoff feature, but you should verify this in your manual to prevent a potential fire hazard.
Why does my coffee taste like plastic?
This usually happens during the first few uses of a brand-new machine. Running two or three cycles of plain water through the system will remove the manufacturing residue completely.
Can I use hot water to speed up brewing?
No, don’t use hot water in the reservoir. Most machines are designed to heat cold water, and using hot water may cause the machine to brew before the water reaches the proper temperature.
How often do I change the filter?
If you use paper filters, change them every single time you brew. If you use a permanent mesh filter, rinse it thoroughly with hot water after every use.
What happens if I overfill the reservoir?
The machine will likely overflow from the basket or the top lid. Always check the water level window before you start the machine to avoid a mess on your counter.
Conclusion
Once your machine is ready, the real fun begins with experimenting. Try different roasts or grind sizes to see what you enjoy most. Don’t be afraid to test a few local beans until you find your perfect morning blend. You’ll be brewing café-quality drinks in your own kitchen before you know it.
Related guides


One Comment