How to Brew Light Roast Coffee With an AeroPress
To brew better light roast AeroPress coffee, use fresh, finely ground beans, lower water temperature, and a shorter steep time.
Ah, the delicate dance of brewing a truly exceptional light roast. If you've ever felt a pang of frustration trying to unlock the vibrant, nuanced flavors of a light roast bean with your beloved AeroPress, you're not alone. Many coffee enthusiasts believe the AeroPress is primarily for robust, darker roasts, but I'm here to tell you that with a few mindful adjustments, it can become your secret weapon for showcasing the bright acidity and complex aromatics of lighter beans. Having spent countless hours experimenting with ratios, temperatures, and grind sizes, I've developed a deep understanding of how to coax the best out of these often-challenging coffees using this incredibly versatile device. This guide will take you through the precise steps and nuanced considerations required to brew better light roast coffee with an AeroPress, transforming your morning cup into a revelation.
Understanding Light Roasts and the AeroPress Challenge
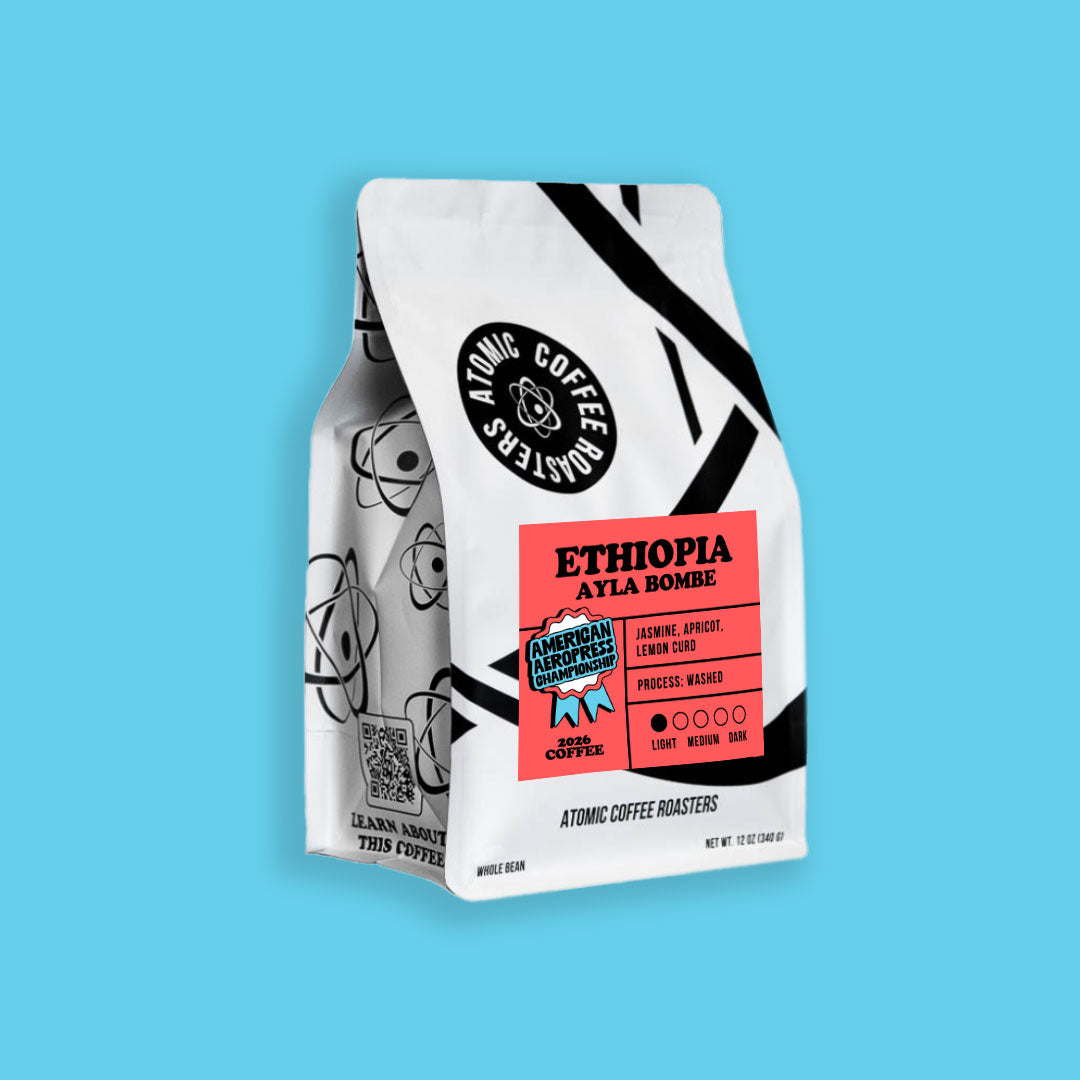
Light roast coffees are a world unto themselves. They're typically roasted for a shorter duration and to a lower internal temperature, preserving more of the bean's origin characteristics. This often means brighter acidity, more floral or fruity notes, and a lighter body compared to their darker counterparts. However, these very qualities can make them tricky to brew. Light roasts are denser and harder, requiring more energy (heat) and time to extract their full flavor potential. The AeroPress, known for its quick extraction and full-immersion capabilities, needs a slightly different approach to truly shine with these beans, as under-extraction can lead to an unpleasantly sour or vegetal cup.

The Golden Rules of Grinding for Light Roasts
When you want to brew better light roast coffee with an AeroPress, your grinder is arguably your most important tool. For light roasts, a consistent, finer grind is absolutely essential. We're talking finer than your standard drip coffee grind, but not so fine it chokes your AeroPress or creates excessive bitterness, which often happens with espresso-fine grinds. A good starting point is a grind consistency similar to table salt. This increased surface area allows the water to penetrate the denser light roast beans more effectively, facilitating better extraction of those delicate flavors.
From my own experience, I've seen a dramatic improvement in clarity and sweetness simply by investing in a quality burr grinder and meticulously dialing in the grind size. Blade grinders, unfortunately, just won't cut it here; they create an inconsistent "dust and boulders" mixture that leads to uneven extraction, where some particles are over-extracted and others are under-extracted, resulting in a muddled flavor. To brew better light roast coffee with an AeroPress, uniformity in your grind is non-negotiable.
Water Temperature: The Unsung Hero
Many people default to boiling water for their coffee, but when it comes to light roasts, a slightly lower water temperature can be a game-changer. High temperatures can aggressively extract unwanted bitterness from the delicate compounds in light roasts, overshadowing their inherent brightness and complexity. Conversely, water that's too cool will lead to significant under-extraction and a sour, weak cup.
For light roasts, I consistently find the sweet spot to be between 185-200°F (85-93°C). This temperature range provides enough thermal energy to dissolve those wonderful flavors without scorching them. Using a thermometer, either an electric kettle with temperature control or a simple kitchen thermometer, will give you the precision needed to consistently brew better light roast coffee with an AeroPress. I remember early on I'd just let the kettle sit for a minute, but once I started measuring, the improvement was undeniable – no more guesswork, just delicious, consistent results.

AeroPress Brewing Methods: Inverted vs. Standard for Light Roasts
Both the standard and inverted methods have their advocates, but when aiming to brew better light roast coffee with an AeroPress, I often lean towards the inverted method. The primary reason is control. With light roasts, precise steep time is critical to avoid under-extraction or, less commonly but still possible, over-extraction of bitter notes.
The inverted method allows you to add your water and coffee, stir, and steep without any dripping through until you're ready to plunge. This gives you absolute command over the immersion time. The standard method can work, but you risk some premature dripping, which can shorten your effective steep time, making it harder to consistently brew better light roast coffee with an AeroPress. For those new to the inverted method, just be mindful of stability and proper sealing before flipping the AeroPress to plunge.

Optimizing Your Steep Time and Plunge
Given the denser nature of light roast beans, a common mistake is assuming a longer steep time is always better. While you need sufficient time for extraction, a prolonged steep can still lead to undesirable bitterness, even with light roasts. I've found that for light roasts and a finer grind, a steep time of 30-60 seconds is often ideal, depending on your specific beans and grind size. This allows for rapid extraction of the desirable acids and aromatics without pulling out too many of the less pleasant compounds.
When it comes to the plunge, aim for a slow, steady, and consistent press. A forceful or rapid plunge can disturb the coffee bed too much, potentially forcing unwanted fines into your cup and leading to a muddy flavor. A gentle plunge over 20-30 seconds ensures a cleaner cup and a more even extraction, which contributes significantly to how to brew better light roast coffee with an AeroPress. My early plunges were often too quick, and the difference in the final cup after slowing down was remarkable – much smoother, cleaner, and brighter.

Recipe for Success: A Step-by-Step Guide to Better Light Roast Coffee With an AeroPress
Let's put it all together. This is my go-to recipe for how to brew better light roast coffee with an AeroPress, honed through many mornings of trial and error.
- Heat Your Water: Bring about 250ml (8.5 fl oz) of water to a temperature between 185-200°F (85-93°C).
- Grind Your Beans: Grind 17g of fresh light roast coffee beans to a fine consistency, similar to table salt.
- Set Up AeroPress (Inverted): Place the plunger into the AeroPress cylinder, about an inch from the end, then invert it so the plunger is on the bottom.
- Add Coffee: Pour your finely ground coffee into the inverted AeroPress chamber.
- Add Water & Stir: Add about 50ml of your heated water, ensuring all grounds are saturated. Stir gently for 10 seconds to ensure even saturation. This is often called a "bloom" and helps release gases.
- Add Remaining Water: Fill the AeroPress with the remaining water (up to about the '4' mark on the AeroPress).
- Steep: Let it steep for 30-60 seconds. Start with 45 seconds and adjust based on taste.
- Prepare for Plunge: Securely screw on the filter cap (with a rinsed paper filter or metal filter) onto the top of the AeroPress.
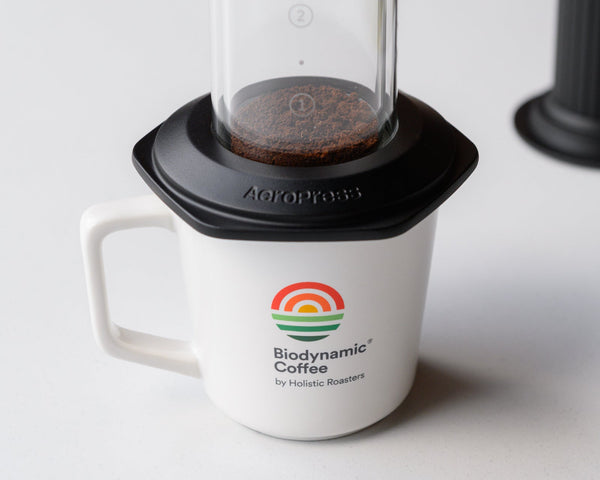
- Flip & Plunge: Carefully and steadily flip the AeroPress onto your mug. Then, press the plunger down slowly and consistently for about 20-30 seconds until you hear a hiss.
- Enjoy: You'll have a concentrated shot of delicious light roast coffee. Dilute with hot water to your preferred strength for an Americano-style cup, or enjoy as is for an intense, flavorful shot. This method truly shows how to brew better light roast coffee with an AeroPress.
Troubleshooting Common Light Roast AeroPress Issues
Even with the best intentions, you might encounter some common issues when trying to brew better light roast coffee with an AeroPress. Here's a quick guide to diagnose and fix them:
- Too Sour/Under-extracted: If your coffee tastes overwhelmingly sour, thin, or vegetal, it's likely under-extracted. Try a finer grind, slightly hotter water (within the recommended range), or extend your steep time by 10-15 seconds.
- Too Bitter/Over-extracted: While less common with light roasts, bitterness can still occur if you're over-extracting. If your coffee tastes dry, ash-like, or overly strong with a lingering unpleasant aftertaste, try a coarser grind, cooler water, or shorten your steep time.
- Muddiness/Sediment: This usually points to an inconsistent grind (too many fines) or plunging too aggressively. Ensure you're using a quality burr grinder and performing a slow, gentle plunge.

Experimentation is Key: Your Personal Brewing Journey
The beauty of the AeroPress is its adaptability, and the nuances of light roast coffee mean there's always room for personal discovery. While I've given you a solid foundation on how to brew better light roast coffee with an AeroPress, don't be afraid to tweak these parameters. Each coffee bean is unique, and what works perfectly for one might need slight adjustments for another.
Keep a small notebook and jot down your grind settings, water temperature, steep times, and your tasting notes. This simple practice will accelerate your learning and help you pinpoint exactly what makes a particular light roast sing. The journey of brewing is about connection – to your beans, your equipment, and ultimately, your palate. Embrace the process, and you'll consistently brew better light roast coffee with an AeroPress that truly delights.

Frequently Asked Questions of How to Brew Better Light Roast Coffee With an AeroPress
Can I use pre-ground light roast coffee with an AeroPress?
While fresh grinding is always best for light roasts, if you must use pre-ground, ensure it's a fine-to-medium grind. You might need to adjust water temperature and steep time to compensate for potential staleness and inconsistent particle size.
How does water quality affect light roast AeroPress coffee?
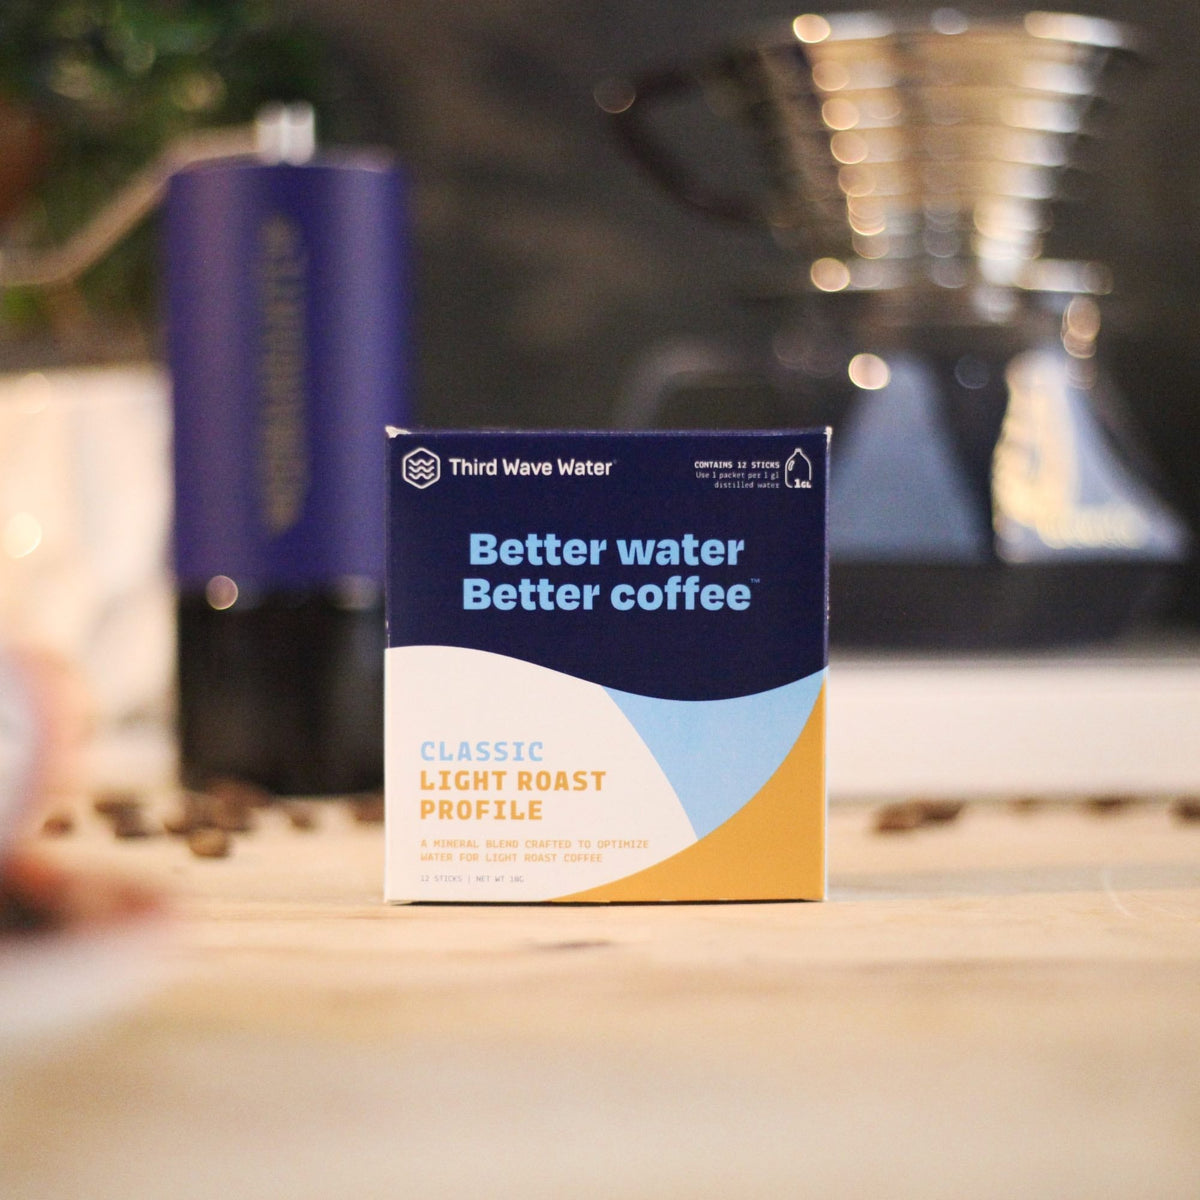
Water quality plays a significant role, especially with delicate light roasts. Filtered water free from strong odors or tastes, and with a balanced mineral content, will allow the nuanced flavors of your light roast to truly shine through.
What's the ideal coffee-to-water ratio for light roasts?
A common starting point is a 1:15 to 1:17 coffee-to-water ratio. For a more concentrated brew to be diluted later, you might use a 1:10 or 1:12 ratio with the AeroPress.
Should I use paper filters or metal filters for light roast AeroPress?
Paper filters offer a cleaner cup with fewer fines, allowing the delicate acidity and clarity of light roasts to stand out. Metal filters allow more oils and fines through, which can add body but may muddy the nuanced flavors of some light roasts.
Why does my light roast coffee taste watery?
A watery taste often indicates under-extraction or too much dilution. Try using a finer grind, a slightly higher water temperature, a longer steep time, or a higher coffee-to-water ratio for a more concentrated brew before diluting.
Conclusion
Mastering how to brew better light roast coffee with an AeroPress is a rewarding journey that elevates your daily coffee ritual. By focusing on critical elements like a precise, fine grind, optimal water temperature, controlled steep times, and a gentle plunge, you can unlock the full spectrum of bright, complex flavors these special beans have to offer. Remember, every variable plays a role, and a little experimentation can go a long way in perfecting your brew. Don't be afraid to fine-tune these suggestions to your personal taste and the unique characteristics of your chosen light roast. I encourage you to grab your AeroPress, a fresh bag of light roast, and start experimenting today. Share your favorite light roast AeroPress tips in the comments below, or explore more of our brewing guides for further insights!