How to Use an Origami Dripper for the First Time
Learning to use an Origami Dripper for the first time is straightforward with the right guidance, opening up a world of delicious, customized coffee.
Stepping into the world of specialty coffee brewing can feel like learning a new language, but with the right tools and a clear guide, it becomes an exciting journey. If you’ve just unboxed your beautiful Origami Dripper and are wondering where to begin, you’ve come to the perfect place. We understand that taking the plunge as a first-time user can be a little intimidating, but this essential guide will equip you with all the knowledge and confidence you need to brew exceptional coffee right from your very first attempt. Get ready to unlock the full potential of your beans and elevate your daily coffee ritual.
Understanding the Origami Dripper: What Makes It Special?
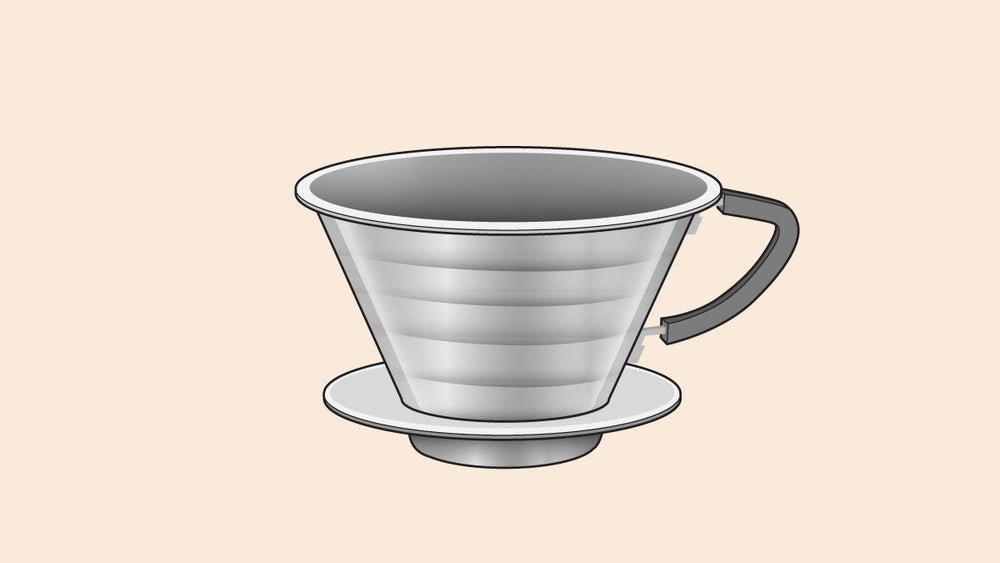
The Origami Dripper isn't just a pretty face; its distinctive design is engineered for superior coffee extraction. Inspired by traditional Japanese paper folding, this ceramic dripper features 20 vertical grooves that create air channels, promoting a smoother and more even water flow during brewing. This unique structure sets it apart from other pour-over devices, offering remarkable versatility in filter compatibility and extraction profiles.
When I first held an Origami Dripper, I was immediately struck by its elegant aesthetic and tactile quality. But it was the promise of consistent, delicious coffee that truly captivated me. Its design allows for fantastic thermal stability, maintaining water temperature throughout the brew, which is crucial for maximizing flavor. This balance of beauty and functional design makes it a favorite among enthusiasts and a fantastic choice for anyone embarking on their First Time Using an Origami Dripper.

Essential Gear for Your First Origami Brew
Before you dive into brewing, having the right equipment ensures a smooth and enjoyable experience. Think of it as preparing your toolkit; each piece plays a vital role in crafting that perfect cup. Investing in quality gear, especially when you’re a First Time Using an Origami Dripper, can significantly improve your results.
Here’s what you’ll need to get started:
- Coffee grinder: A burr grinder is non-negotiable for consistent particle size, which is key to even extraction. Blade grinders crush beans unevenly, leading to a muddled taste.
- Gooseneck kettle: This allows for precise control over your water flow, essential for saturating the coffee grounds evenly.
- Digital scale with timer: Accuracy is paramount in coffee brewing. A scale measures your coffee and water precisely, while the timer helps track your brew duration.
- Coffee server or carafe: This collects your brewed coffee. Any heat-resistant vessel will do.
- Filters: You’ll need Origami-specific filters, or compatible Kalita Wave (185) or Hario V60 (02) filters. We'll dive into this more in the next section.
- Freshly roasted coffee beans: Always start with high-quality, freshly roasted beans for the best flavor.
My personal experience taught me early on that cutting corners on equipment, especially the grinder, was a mistake. When I was a First Time Using an Origami Dripper, upgrading my grinder made an immediate and noticeable difference in the quality of my brews.
Choosing the Right Filter and Grind Size
One of the most exciting aspects of the Origami Dripper is its adaptability, largely thanks to its compatibility with different filter types. The choice of filter significantly impacts the flow rate and, consequently, your coffee’s taste profile. Understanding this flexibility is key for anyone experiencing their First Time Using an Origami Dripper.
Here are your primary filter options:
- Origami specific filters: These are cone-shaped and designed specifically for the dripper, often leading to a clean, bright cup.
- Kalita Wave 185 filters: These are flat-bottomed and create a slower, more even extraction. They tend to produce a fuller-bodied cup with a balanced flavor.
- Hario V60 02 filters: These are conical, similar to the Origami filters, and allow for a faster flow. They typically result in a lighter-bodied, more aromatic brew.
Your grind size is equally critical. For a V60-style conical filter, a medium-fine grind, resembling table salt, is generally recommended. If you opt for a Kalita Wave-style flat-bottom filter, a slightly coarser, medium grind, like sea salt, might be more appropriate. Always remember to adjust your grind based on your specific brew time and taste preference. When I was a First Time Using an Origami Dripper, experimenting with both V60 and Kalita filters helped me discover my preferred extraction style.

Step-by-Step Guide: Brewing with Your Origami Dripper
Now for the fun part: brewing! This step-by-step guide will walk you through the process, ensuring a delicious cup even on your First Time Using an Origami Dripper. Consistency is your friend here, so try to replicate your successful brews.
Preparation
- Heat your water: Bring fresh filtered water to your desired brewing temperature, typically between 200-205°F (93-96°C).
- Measure and grind your coffee: For a standard cup, use a 1:15 to 1:17 coffee-to-water ratio. For example, 20 grams of coffee for 300 grams of water. Grind your beans to a medium-fine consistency.
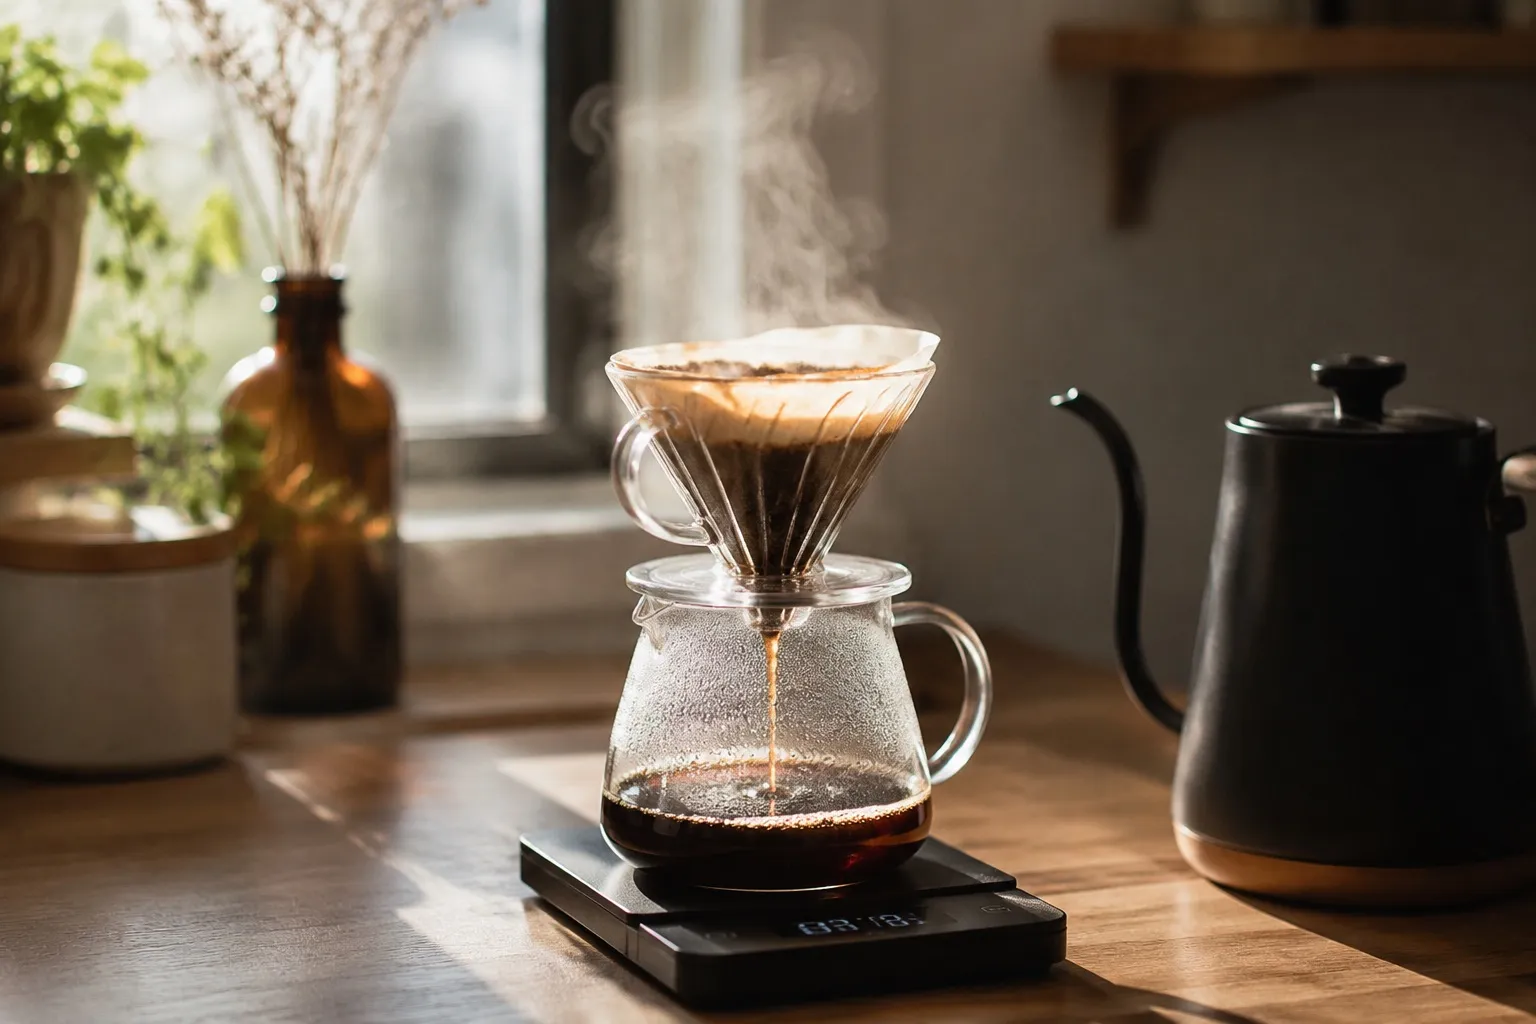
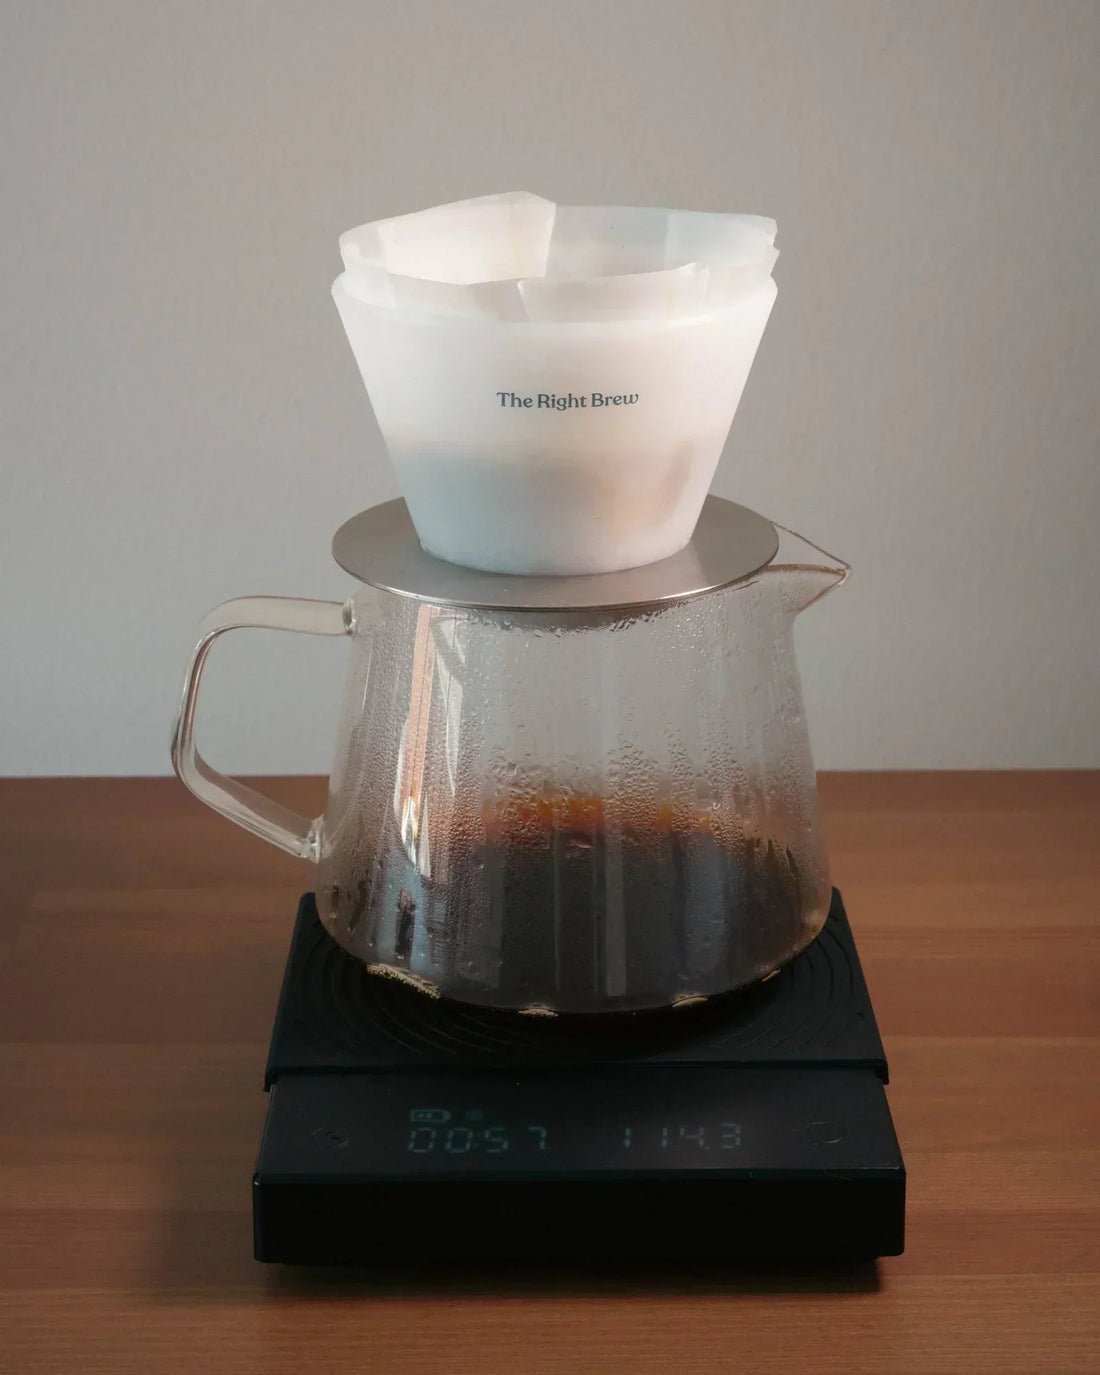
- Rinse your filter: Place your chosen filter in the Origami Dripper. Place the dripper on your server, and then on your scale. Pour a small amount of hot water over the filter to rinse away any paper taste and preheat the dripper and server. Discard the rinse water.
- Add coffee: Place your ground coffee into the rinsed filter. Gently tap or shake the dripper to level the coffee bed. Tare your scale to zero.
Brewing
- Bloom (0:00-0:45): Start your timer. Pour about twice the weight of your coffee in water (e.g., 40 grams for 20 grams of coffee) evenly over the grounds. Ensure all grounds are saturated. Wait 30-45 seconds for the coffee to "bloom." This allows gases to escape, leading to better flavor extraction.
- First Pour (0:45-1:15): Begin pouring in a slow, steady spiral from the center outwards, then back to the center. Aim to reach about 150 grams of water by 1:15 on your timer.
- Second Pour (1:15-2:00): Continue pouring with the same spiral motion, bringing the total water weight up to your target (e.g., 300 grams) by 2:00.
- Drawdown: Allow all the water to fully draw down through the coffee bed. The total brew time, from the start of your bloom, should ideally be between 2:30 and 3:30 minutes.
When I was a First Time Using an Origami Dripper, I found the bloom crucial for unlocking flavors. Don't rush it! Also, focusing on a consistent, gentle pour made a huge difference in avoiding channeling and getting an even extraction.
Troubleshooting Common Issues for First-Timers
It's completely normal to encounter a few hiccups when you're a First Time Using an Origami Dripper. Don't get discouraged! Brewing excellent coffee is a journey of learning and adjustment. Many common issues can be easily diagnosed and corrected with a few simple tweaks.
Here are some common problems and their solutions:
- Brew time is too fast: If your coffee drips through too quickly (e.g., under 2 minutes), it usually means your grind is too coarse, leading to under-extraction and a weak, sour taste.
- Solution: Grind finer next time. You might also try pouring more slowly or using a bit more coffee.
- Brew time is too slow: If your coffee takes too long to draw down (e.g., over 4 minutes), your grind is likely too fine, causing over-extraction and a bitter, astringent taste.
- Solution: Grind coarser for your next brew. You could also try pouring a little faster or using less coffee.
- Coffee tastes bitter or astringent: This is a classic sign of over-extraction. Too many soluble compounds have been pulled from the coffee.
- Solution: Coarsen your grind slightly, reduce your water temperature, or decrease your total brew time.
- Coffee tastes sour, weak, or watery: This indicates under-extraction. Not enough flavor has been extracted from the coffee grounds.
- Solution: Fine-tune your grind, increase your water temperature, or extend your brew time. Ensure even saturation during the bloom.
- Uneven extraction (some parts of the coffee bed are dry): This often stems from poor pouring technique or not leveling your grounds.
- Solution: Practice a more controlled, even spiral pour. Ensure your bloom thoroughly saturates all the grounds, and gently level the coffee bed before brewing.
Remember, every brew is an opportunity to learn. Embrace the experimentation, especially as a First Time Using an Origami Dripper, and you'll quickly dial in your perfect recipe.
Advanced Tips for Mastering Your Origami Dripper
Once you've got the basics down, you can start to fine-tune your brewing process and unlock even more nuanced flavors. Mastering your Origami Dripper is all about thoughtful experimentation and understanding how each variable impacts the final cup. Moving beyond being a First Time Using an Origami Dripper means delving deeper into the craft.
Consider these advanced tips:
- Experiment with coffee-to-water ratios: While 1:15 to 1:17 is a great starting point, try ratios like 1:14 for a bolder cup or 1:18 for a lighter, more delicate brew.
- Adjust water temperature: Different roast levels and bean origins can benefit from slightly varied water temperatures. Darker roasts might prefer cooler water (around 195°F/90°C), while lighter roasts can shine with hotter water (208°F/98°C).
- Explore various pouring techniques: Beyond the continuous spiral, try pulse pouring (pouring in segments with pauses) or a single-pour method. Each can create different turbulence and extraction.
- Understand coffee varietals and roasts: Different beans have different optimal brewing parameters. A light-roasted Ethiopian might need a finer grind and hotter water than a dark-roasted Brazilian.
- Pre-infusion time: Extending your bloom to 45-60 seconds, especially for very fresh coffee, can further enhance even extraction.
- Cleaning and maintenance: Always rinse your Origami Dripper immediately after use to prevent coffee oils from building up, which can impart off-flavors. A gentle scrub with a non-abrasive sponge and warm, soapy water is usually sufficient.
Through consistent practice and a keen sense of observation, you'll develop an intuition for brewing that elevates your coffee experience far beyond your initial First Time Using an Origami Dripper. It’s those small, intentional adjustments that truly bring out the best in your beans.

Frequently Asked Questions of First Time Using an Origami Dripper? Here Is Your Essential Guide
What makes the Origami Dripper different from a Hario V60?
The Origami Dripper features 20 distinct ribs compared to the V60's spiral ribs, promoting more airflow and allowing for greater versatility in filter choice, including flat-bottomed Kalita Wave filters. It also tends to be made of ceramic, offering excellent thermal retention.
Can I use regular V60 filters with an Origami Dripper?
Yes, you can absolutely use Hario V60 02 filters with an Origami Dripper, as its conical shape is compatible. This flexibility is a great benefit for a First Time Using an Origami Dripper, as it allows for immediate brewing with common filters.
How do I know if my grind size is correct for my Origami?
Your grind size is correct if your total brew time (including bloom) falls within the 2:30 to 3:30 minute range for a standard 300ml brew and if your coffee tastes balanced – not too sour (under-extracted) or too bitter (over-extracted).
What's the best way to clean my Origami Dripper?
Simply rinse your Origami Dripper with warm water immediately after use to prevent coffee oils from accumulating. For a deeper clean, wash it with warm, soapy water and a soft sponge, ensuring all residue is removed.
Why is my coffee tasting sour or bitter with the Origami?
A sour taste usually indicates under-extraction, likely due to a grind that's too coarse or too low water temperature. A bitter taste points to over-extraction, often caused by a grind that's too fine, too high water temperature, or too long a brew time. Adjust your grind size accordingly.
Do I need a specific stand for the Origami Dripper?
While the Origami Dripper can sit directly on some wider mugs or servers, it's often used with a compatible dripper holder or stand. These stands provide stability and ensure proper airflow around the dripper for optimal brewing.
Conclusion
Embarking on your First Time Using an Origami Dripper is the beginning of a wonderfully rewarding coffee journey. You've now got the essential knowledge, from understanding its unique design and gathering the right gear to mastering the step-by-step brewing process and troubleshooting common issues. This guide is designed to empower you, providing the confidence to experiment and find your perfect cup.
Don't be afraid to tweak parameters like grind size, water temperature, or pour technique. The beauty of pour-over, especially with a versatile tool like the Origami, lies in its capacity for personalization. Each brew is an opportunity to learn and refine your craft. We encourage you to start brewing, take notes on what you like and don't like, and explore the vast world of coffee flavors. Share your brewing adventures in the comments below, or explore our other guides for more specialty coffee insights!